Recently a friend asked me to develop (and scan and print, if successful) a roll of Kodacolor-X from her Brownie Reflex camera. This film uses the C-22 process, which is the precessor to the current C-41 process. Upon researching more about the process, I learned that films using C-22 were discontinued in 1977 in favor of the current C-41 process. The next challenge was to find a recipe for C-22. On the Internet I was not able to find a recipe. Then I remembered and old book of an English photography society from 1974. In it I found a recipe for C-22.
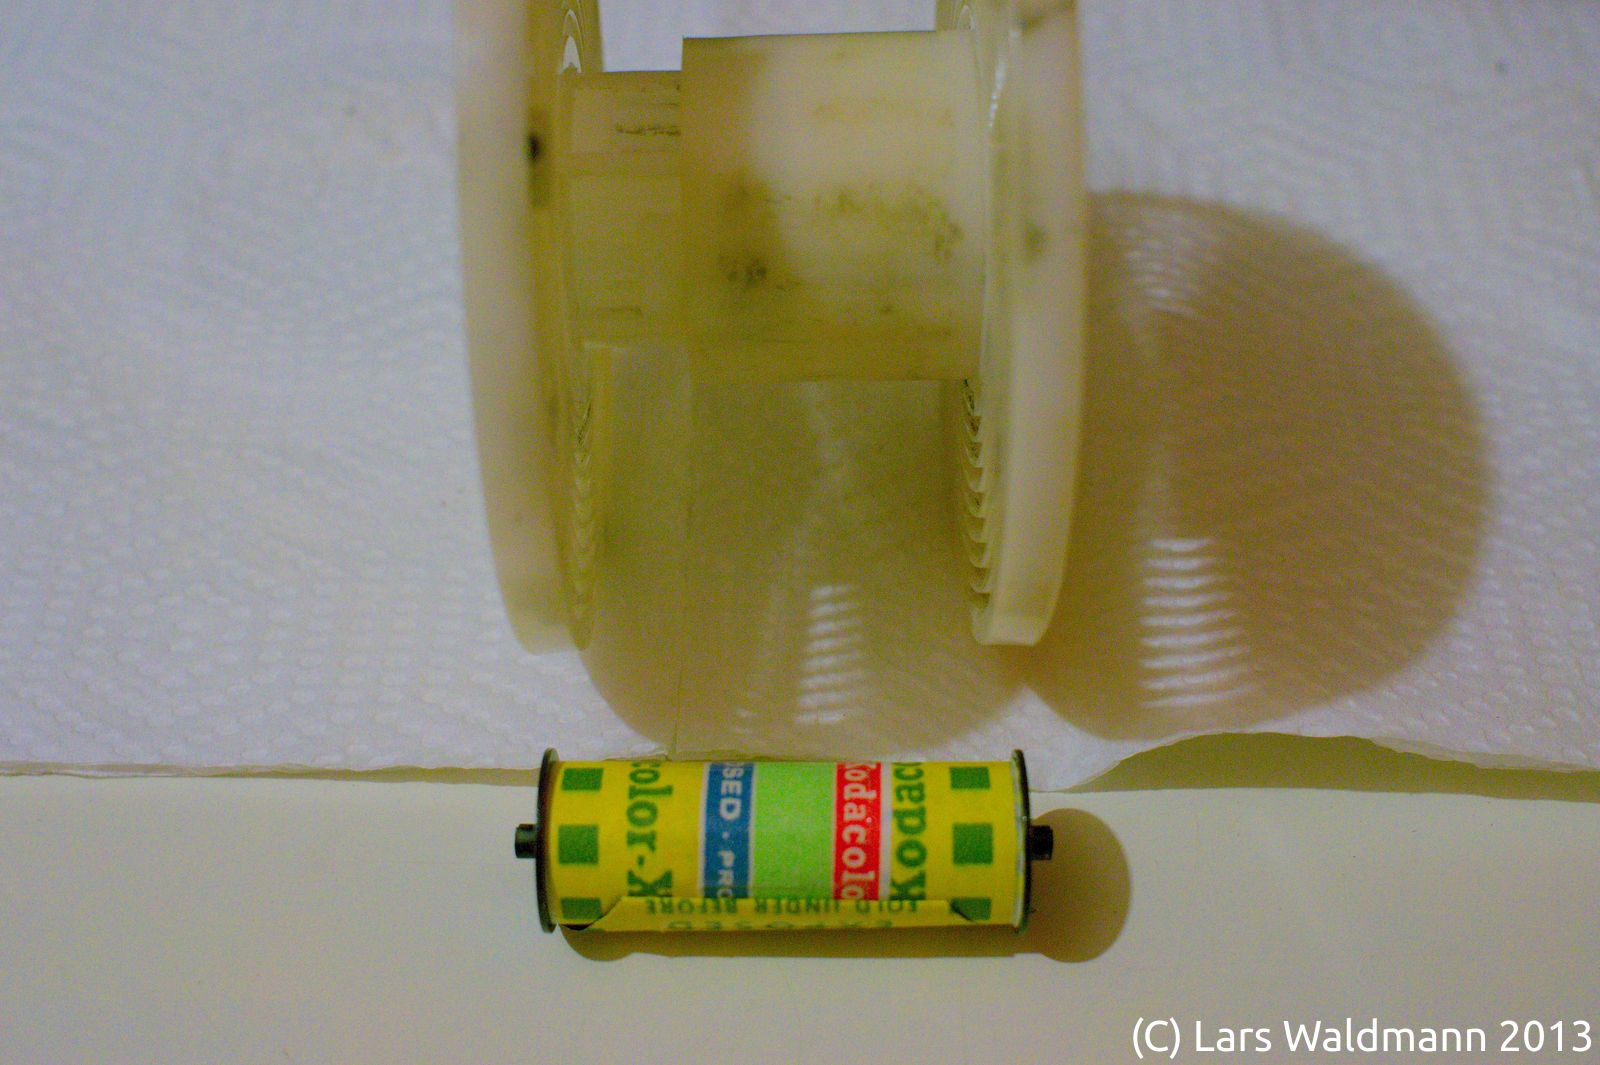
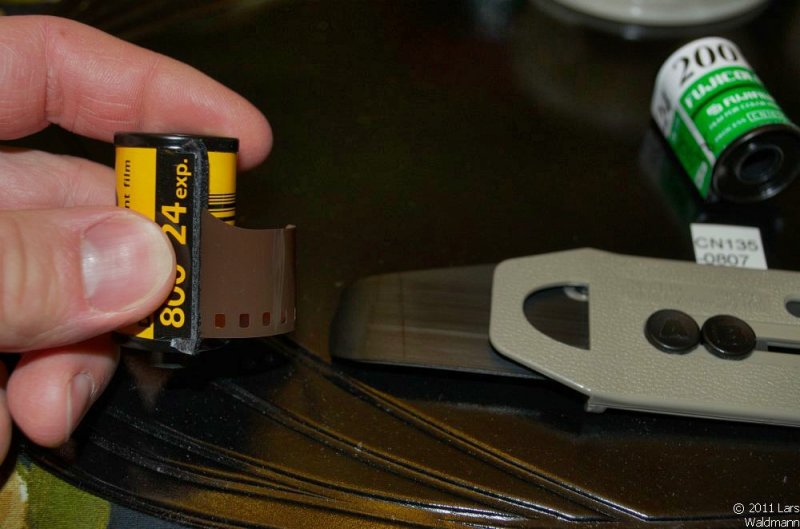
127 Film lying in front of an adjustable Paterson plastic reel
Now I could finally start to analyze the recipe and plan its execution. C-22 uses CD-3 color developer, which is the same developer used for current slide film in the E-6 process. The color process C-41 used for current films uses CD-4. The main difference between C-22 and C-41 is that C-41 is performed at 37 °C (100 °F), whereas C-22 needs to be processed at 22 °C (75 °F). The composition of all solutions and process times can be found in the PDF file.
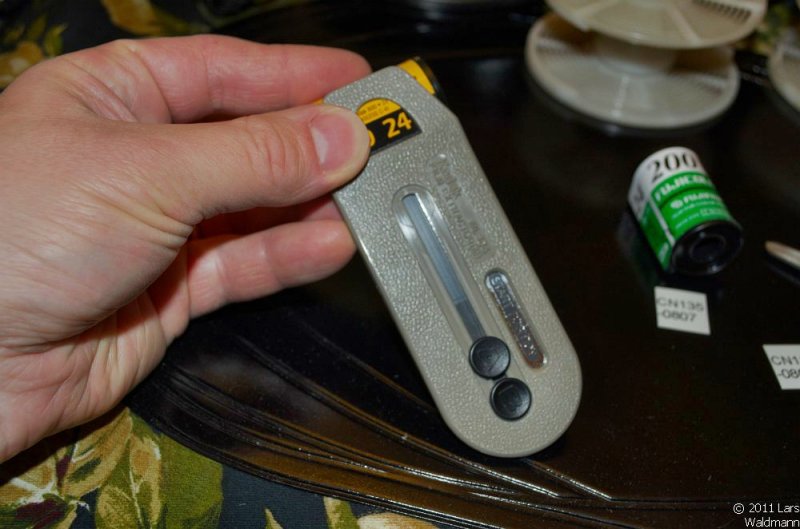
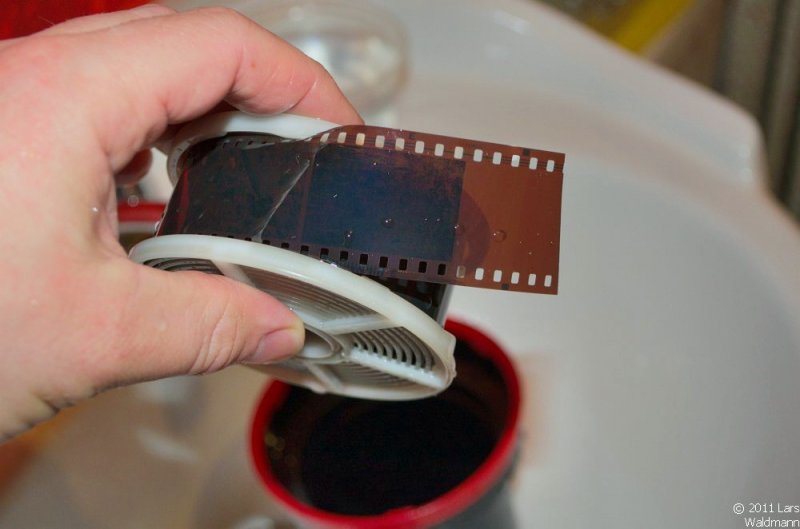
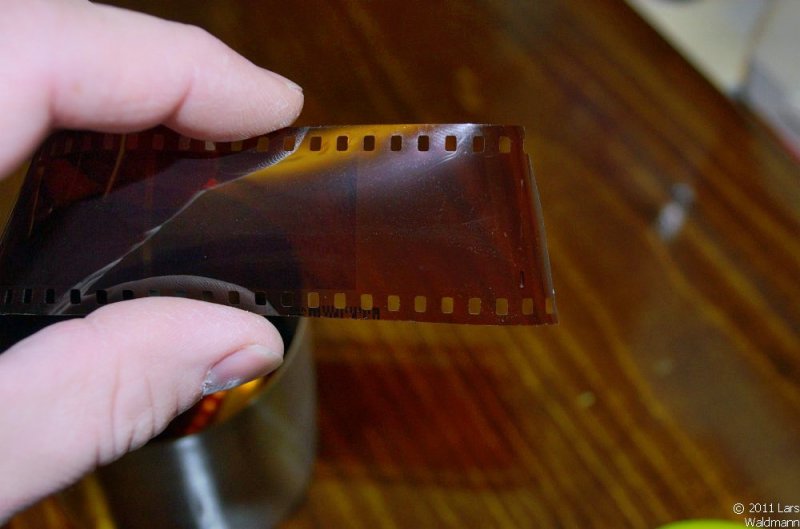
My friend’s roll of film came from a Brownie Reflex camera. While the film format at first appeared to be standard 120 medium format film, this was not true. The Brownie Reflex camera uses 127 film, which typically has a negative area of 4 x 4 cm.
127 Film is one size in from medium format film
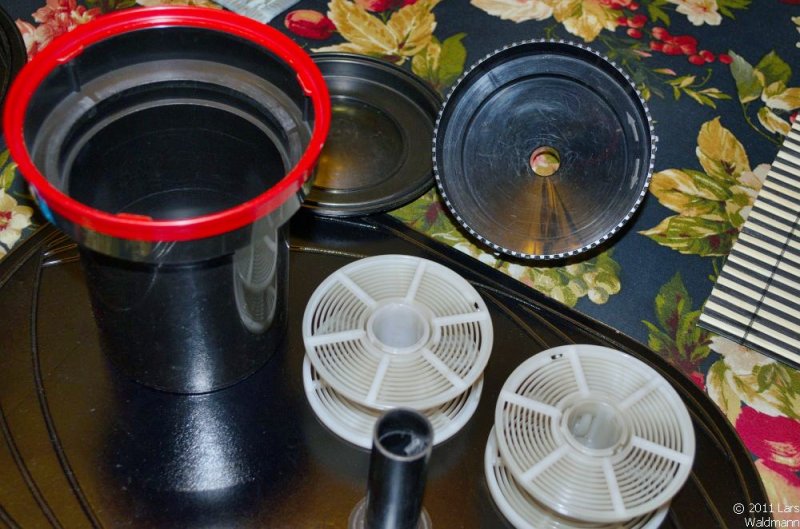
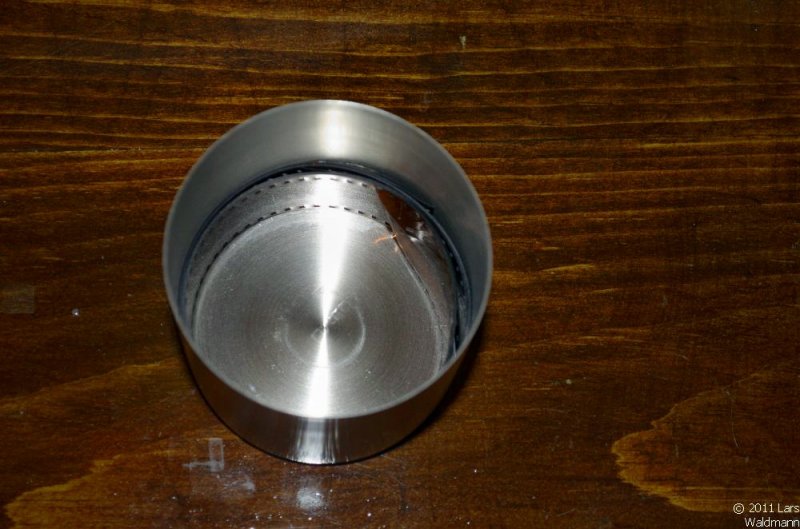
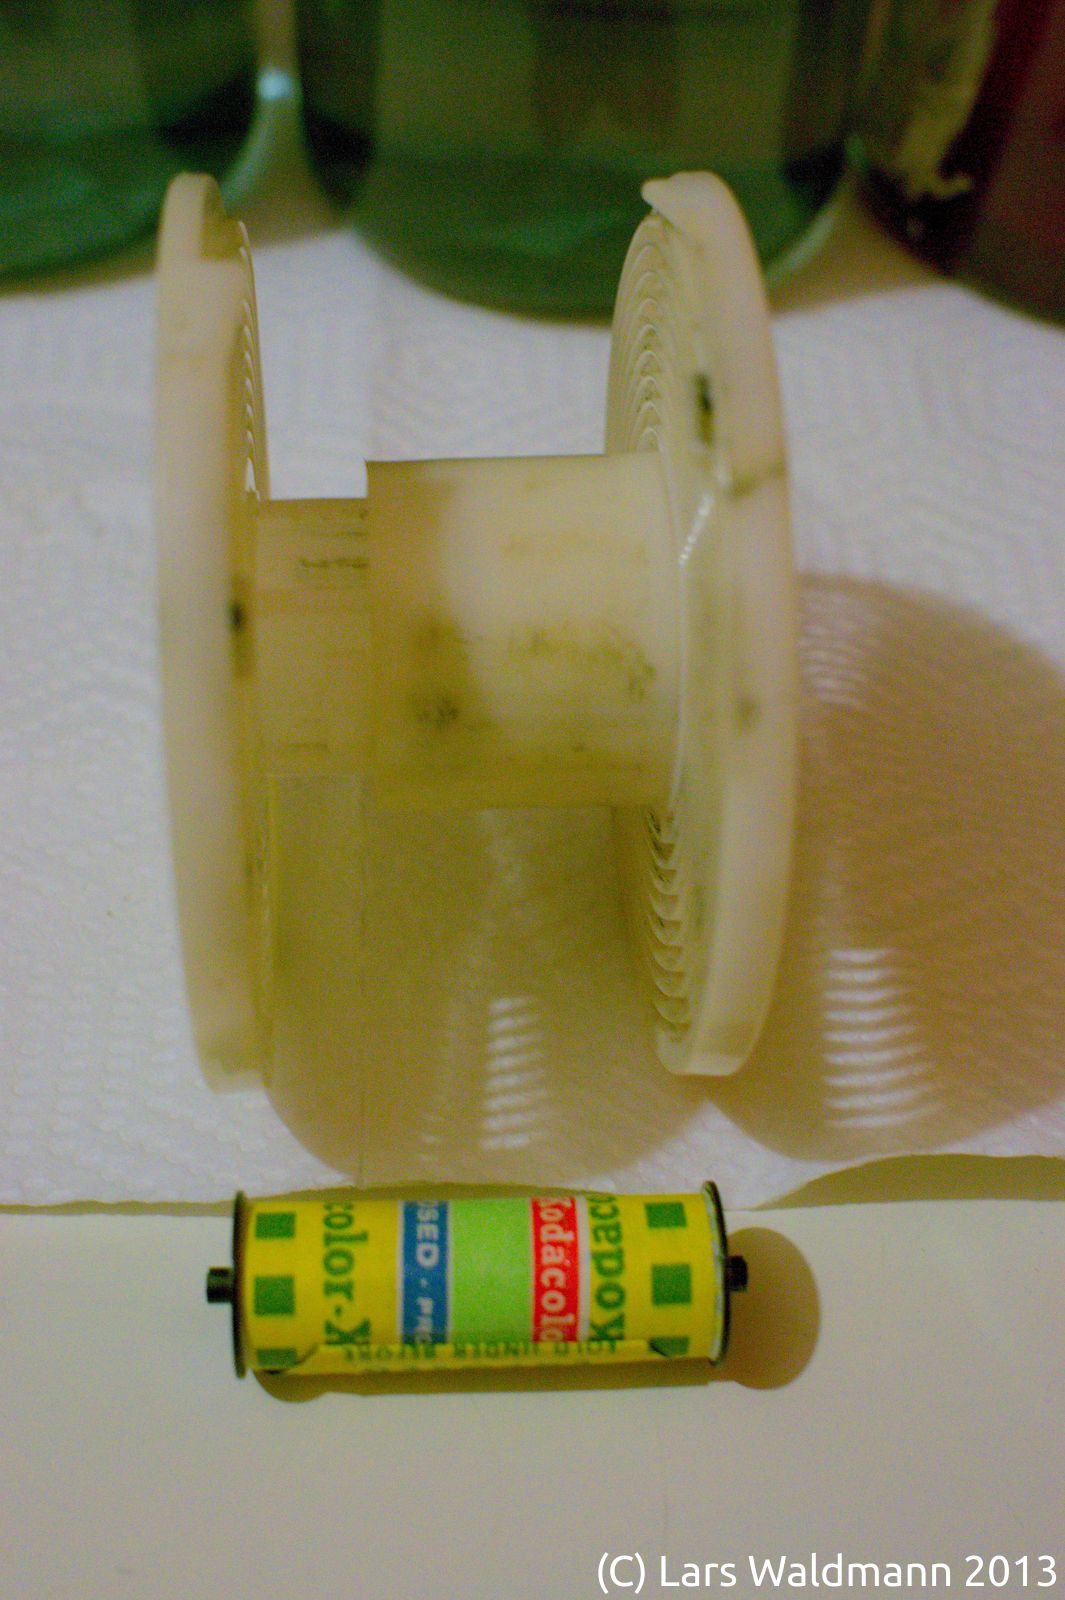
Packaging of 127 film is very similar to current 120 medium format film in that the film is attached to paper backing. After removing the film from the paper backing I was able to load it onto a Paterson plastic reel, because the reel height is adjustable to different film formats.
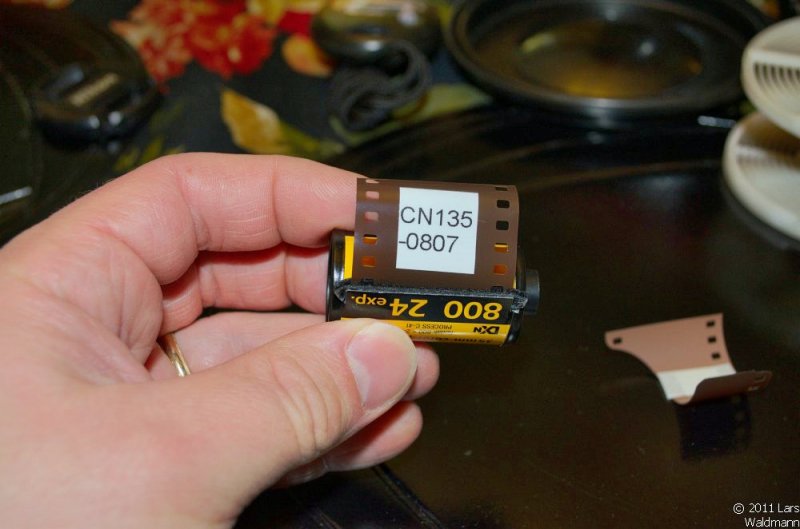
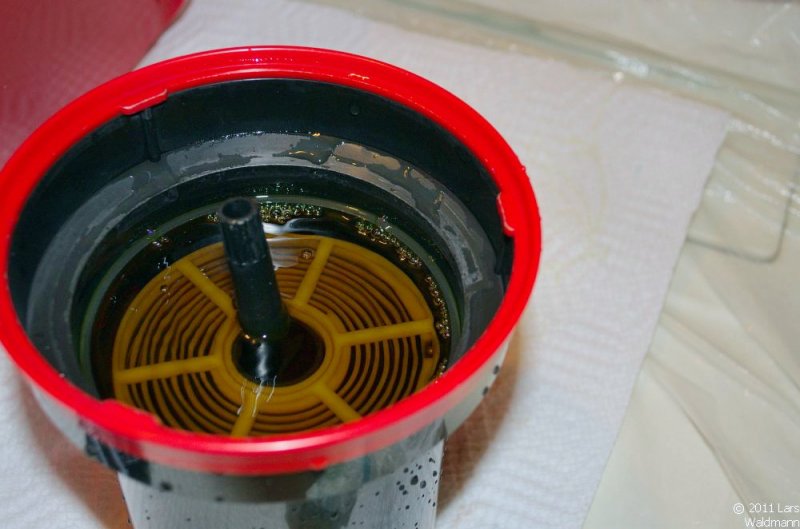
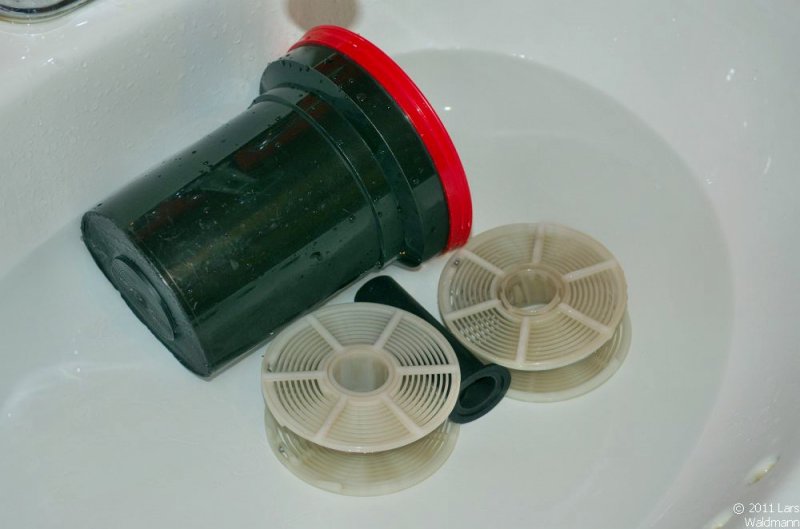
Rest of the paper backing after the film has been transferred onto the reel
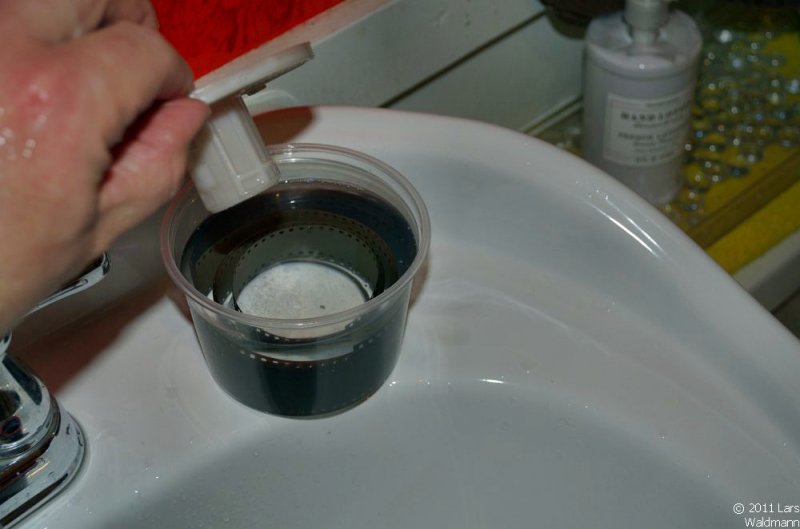
After loading of the film was completed, I could start the development process.
The first step was 14 min of color developer, followed by a stop bath and hardener step. The rest of the process is very similar to current color processes, bleach and fixer to complete the process. Because the material is processed essentially at room temperature, these last two steps take longer than their current counterparts in C-41 and E6 processes, which are processed at 37 °C (100 °F).
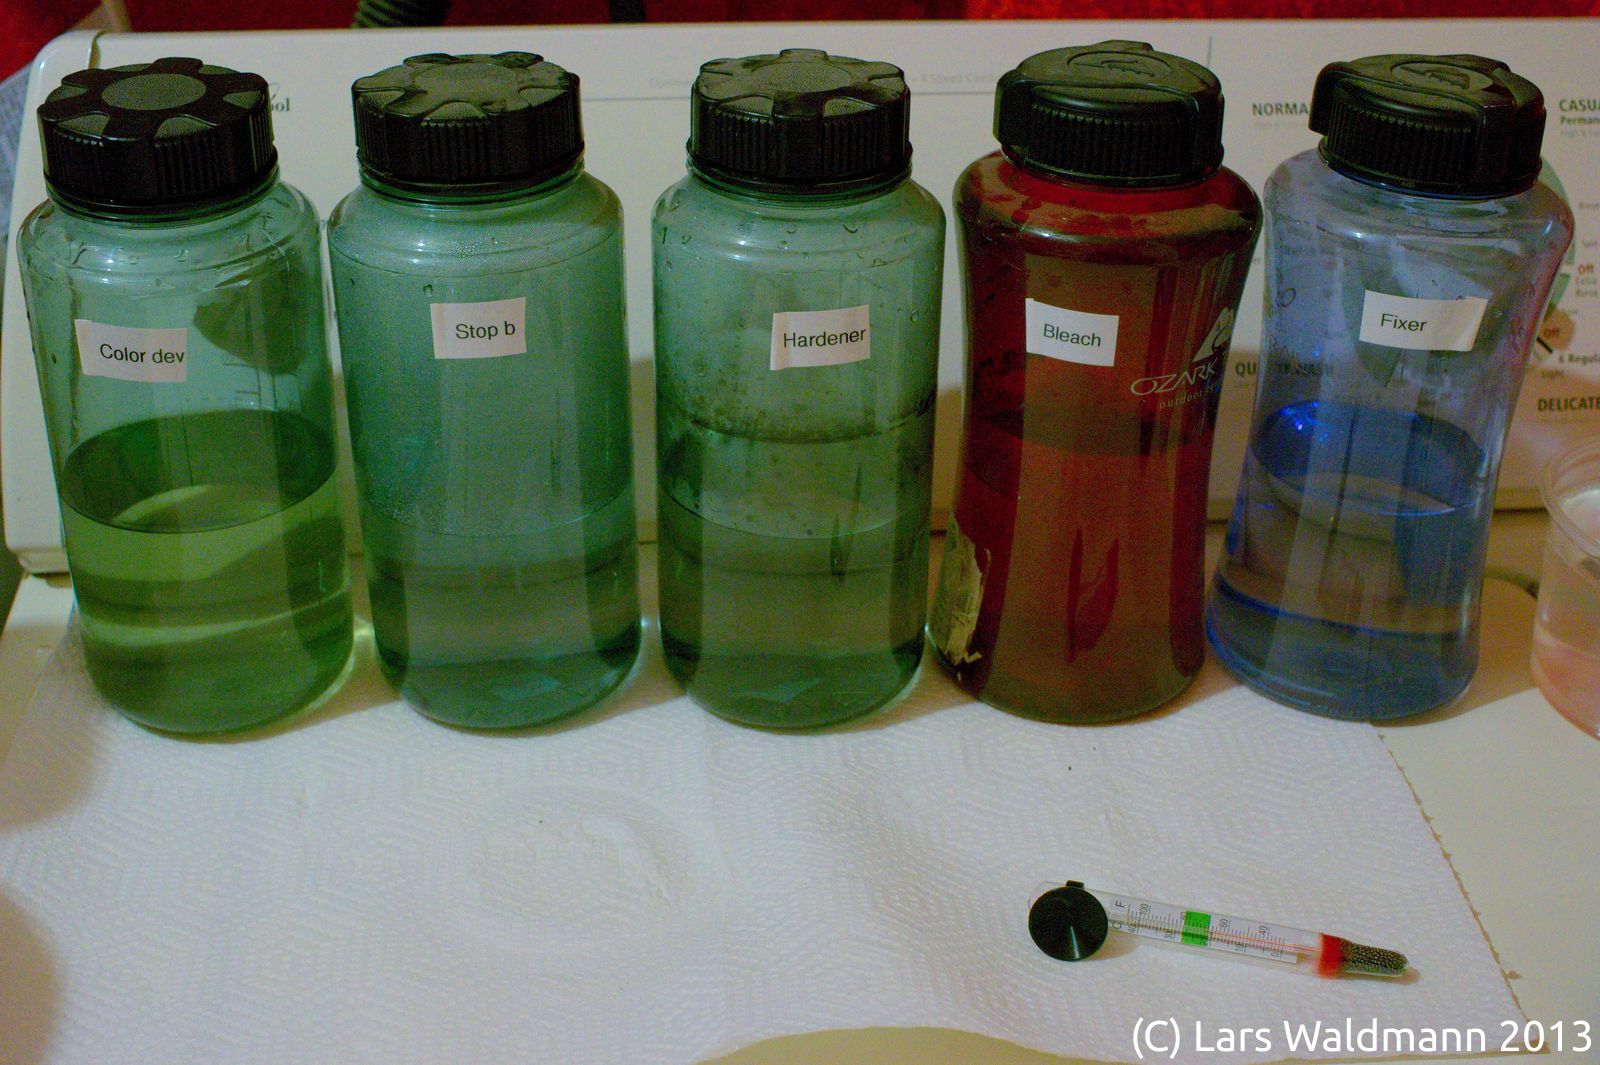
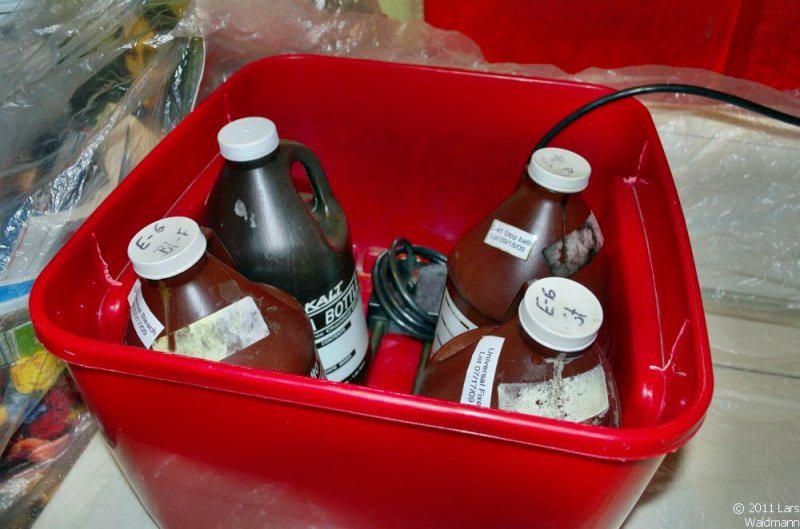
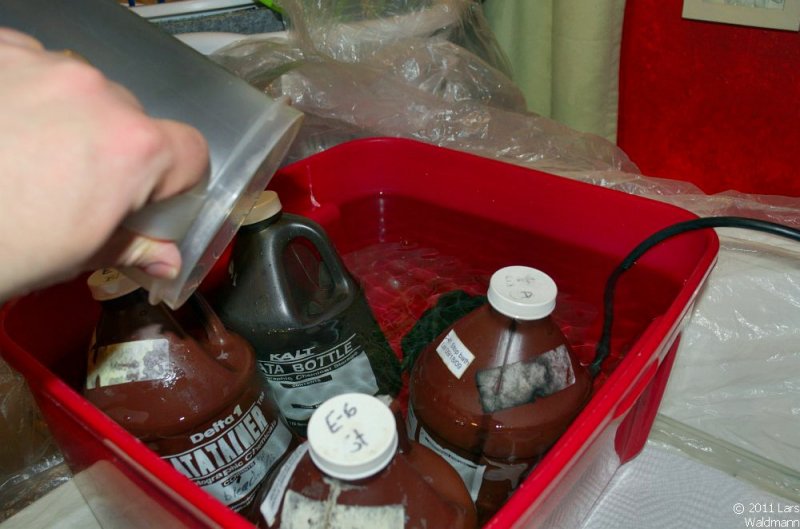
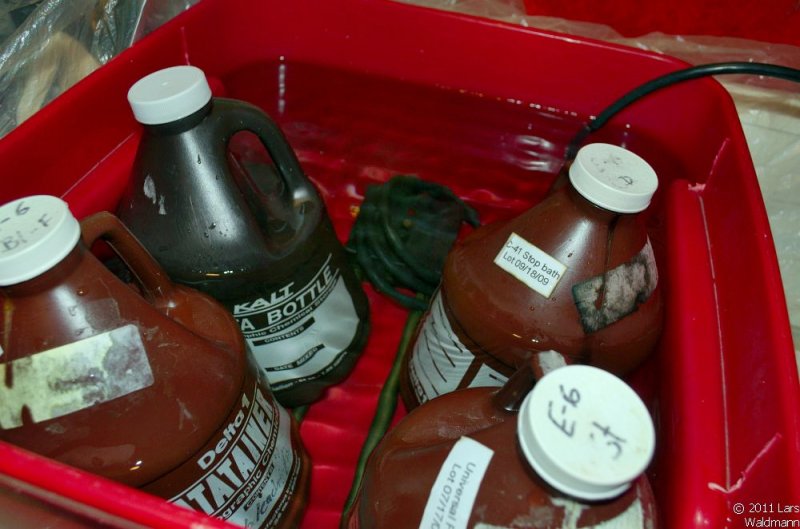
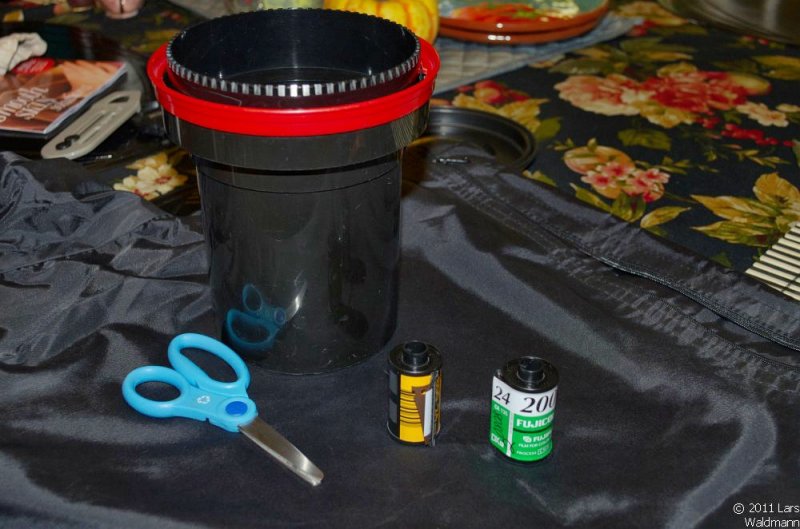
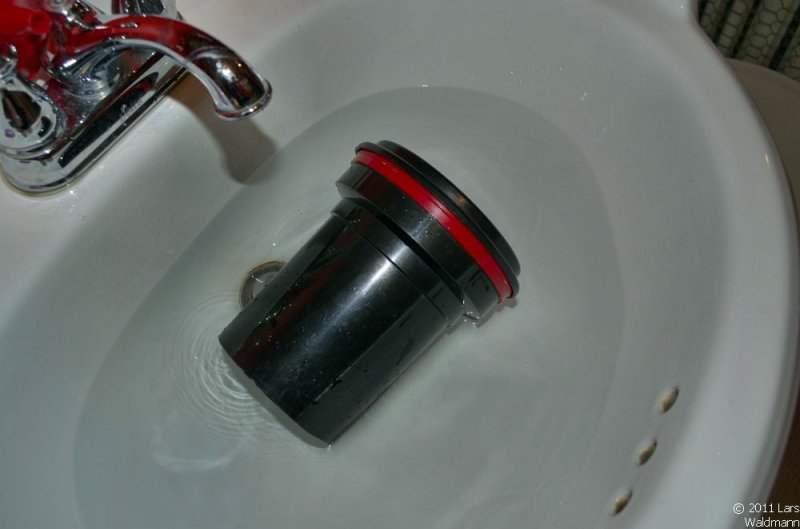
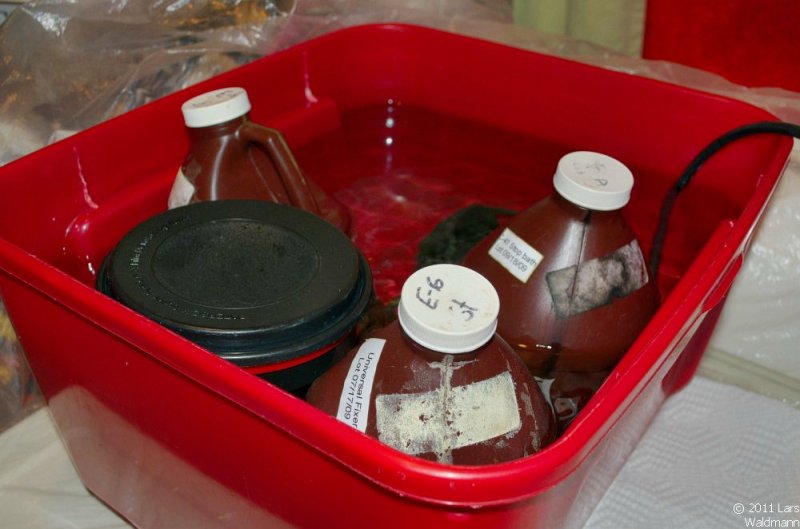
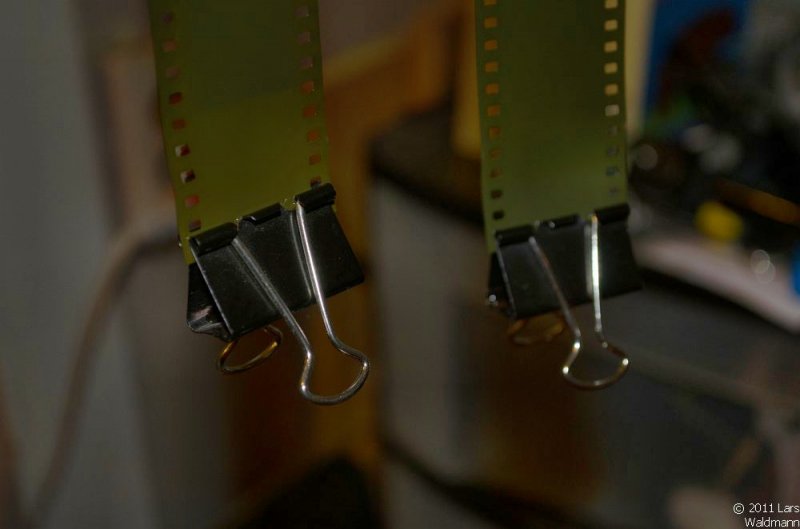
All five solutions lined up for processing of C-22: Color Developer, Stop bath, Hardener, Bleach, and Fixer
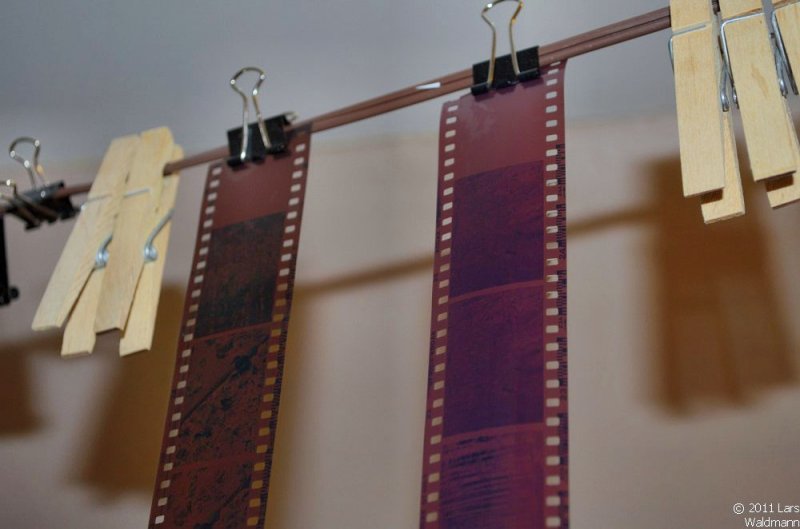
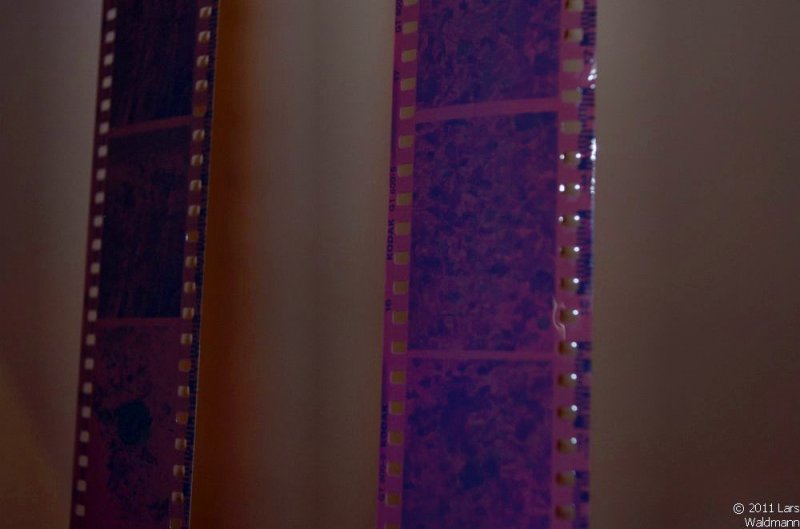
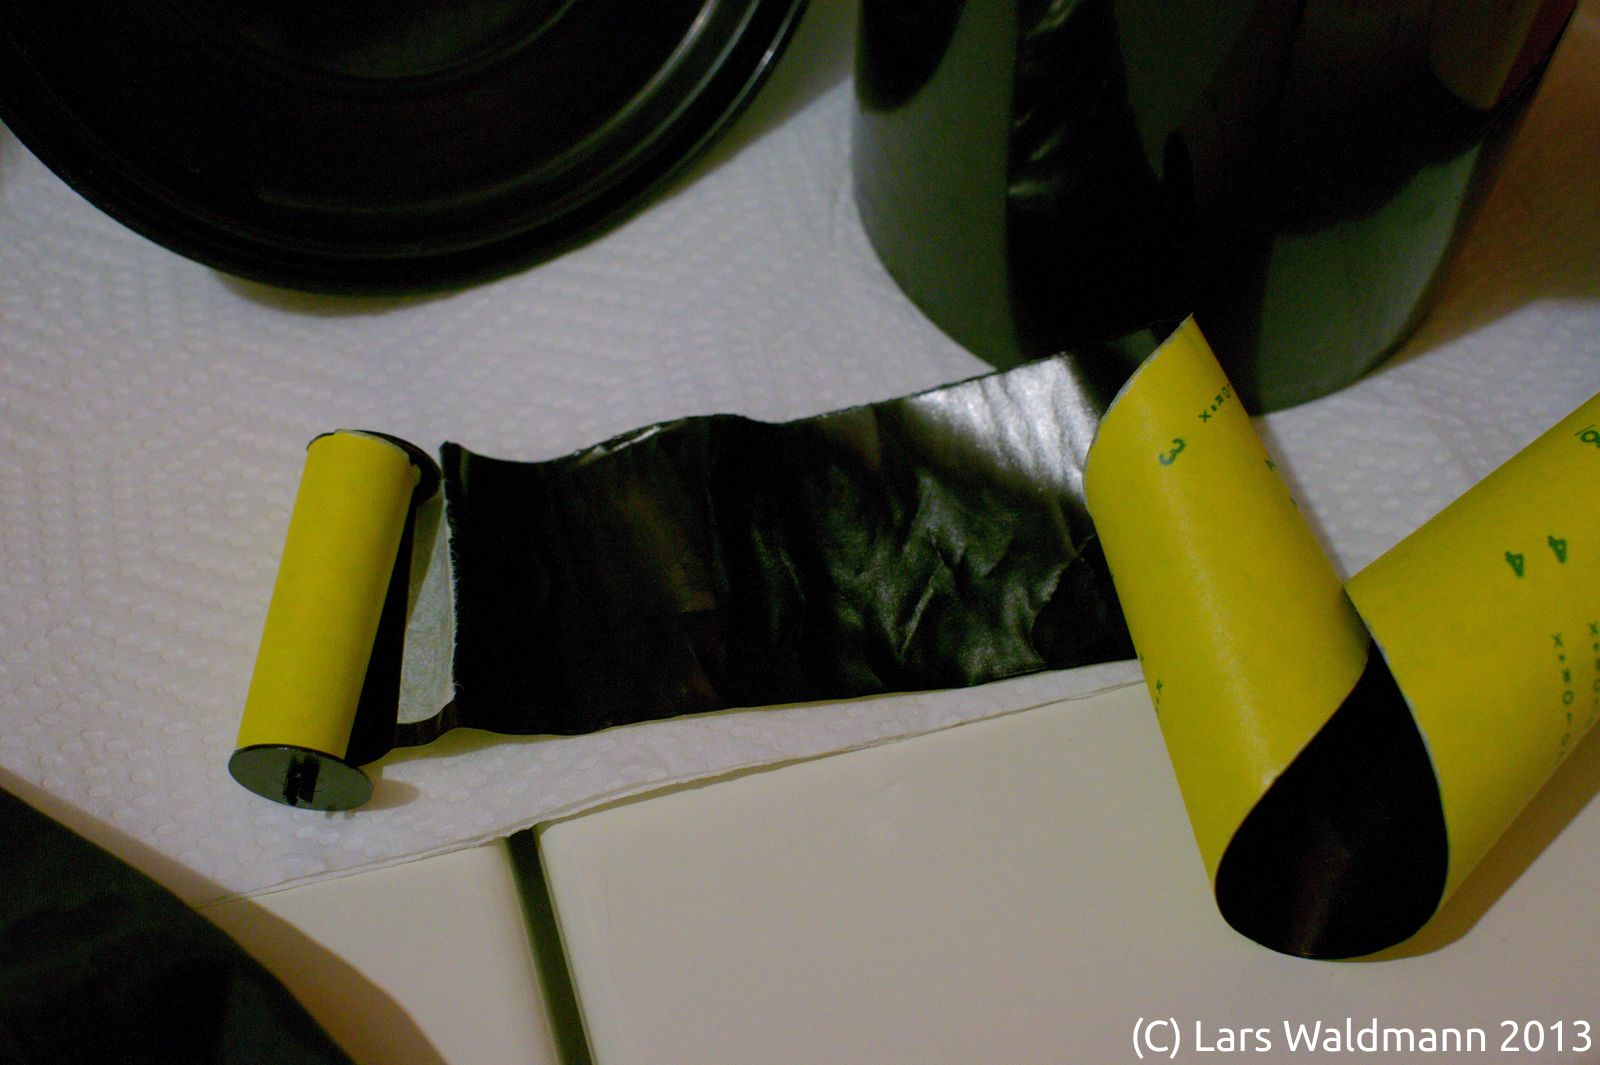
After I could finally inspect my friend’s film, I noticed that the markings on the edge had developed and were visible. Unfortunately only very faint images were visible at the beginning of the film.
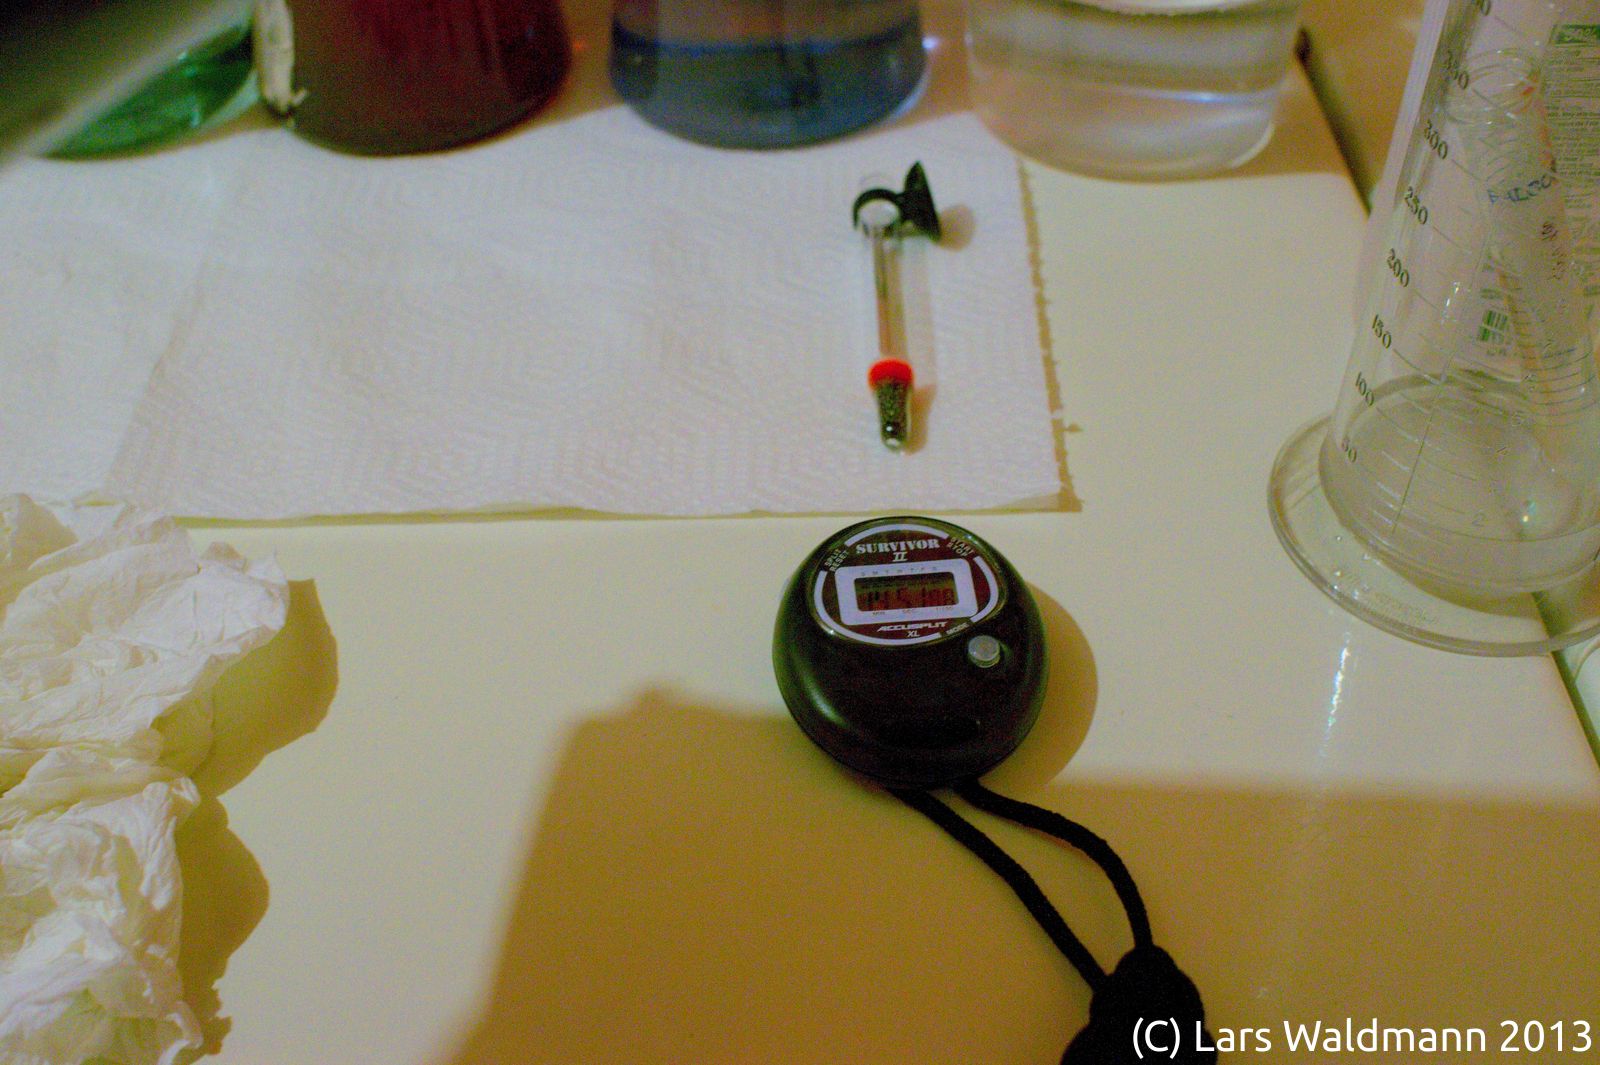
Stopwatch and thermometer set up for processing of C-22 film
Kodacolor-X was introduced in 1963 and discontinued in 1974. This means that the unprocessed film had been sitting in the camera for 40-50 years. Kodacolor-X had a sensitivity of ISO 64-80. The shutter speed for the Brownie Reflex camera my friend used could have been one of three settings: B, 1/30, or I (“instantaneous”). Considering that films were only available with such low sensitivity at that time, I think that the reason for the faint images may not mainly be the age of the film, but that the images were underexposed. Further evidence for this hypothesis is that markings on the edge of the film developed well. If the developing process was to be at fault, markings on the edge would not be readable.
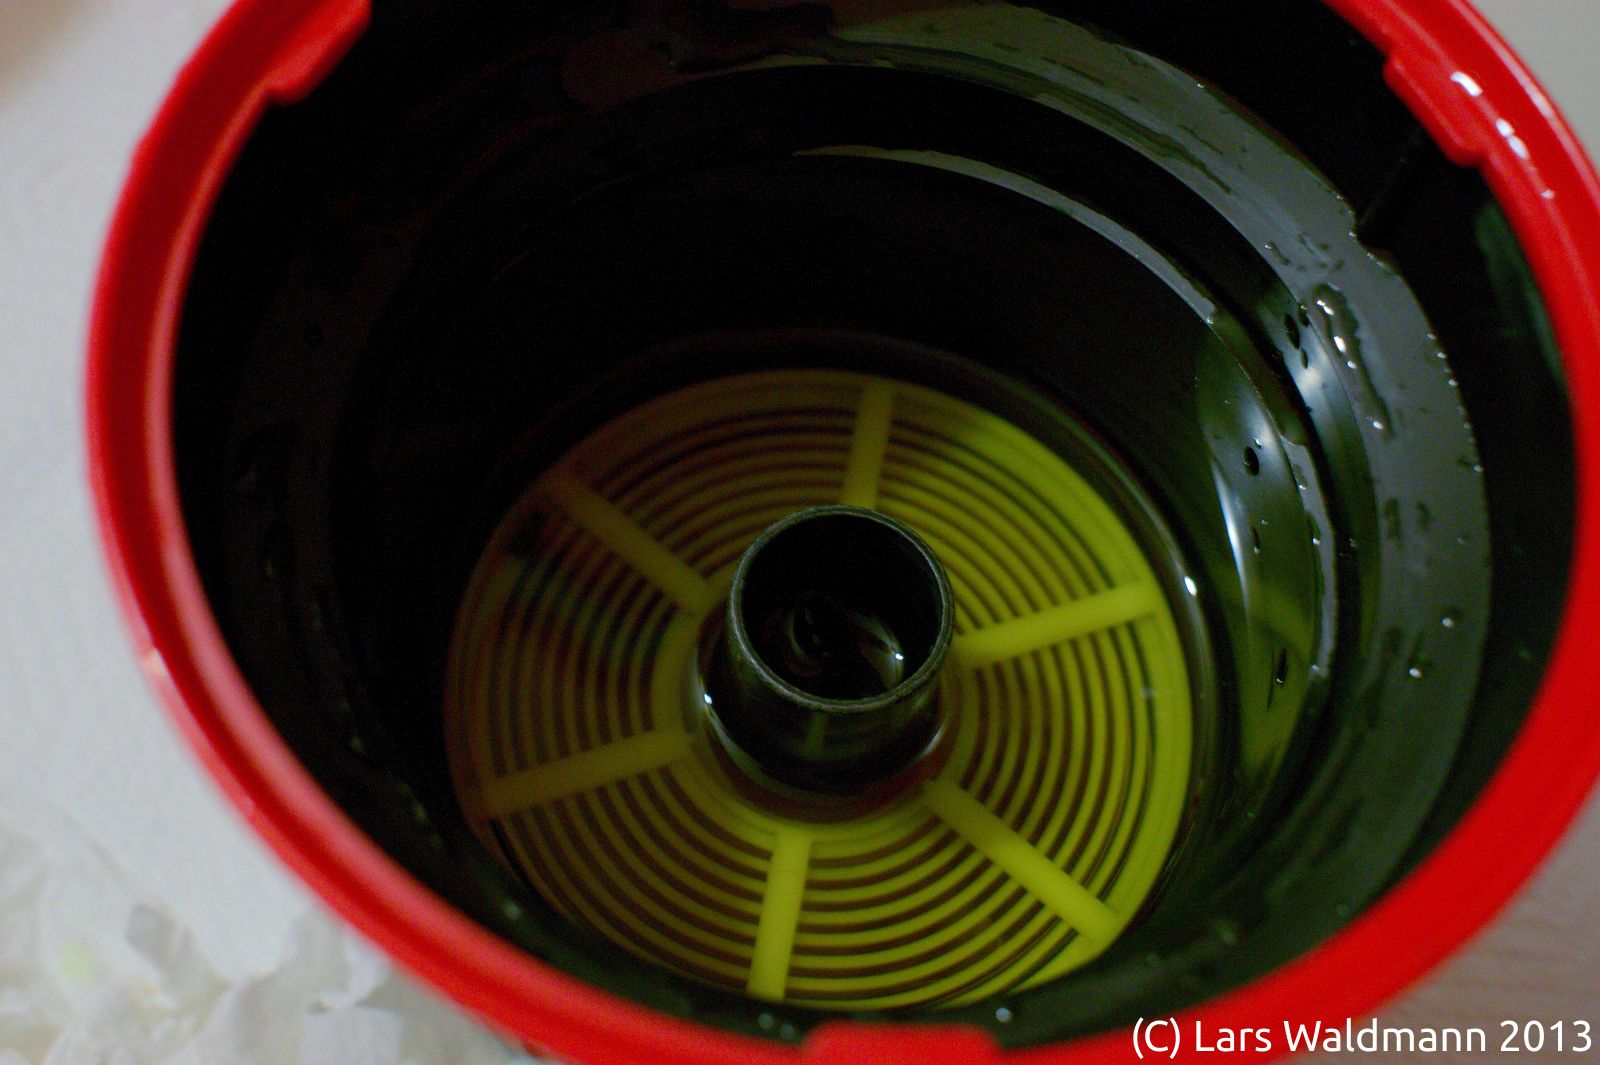
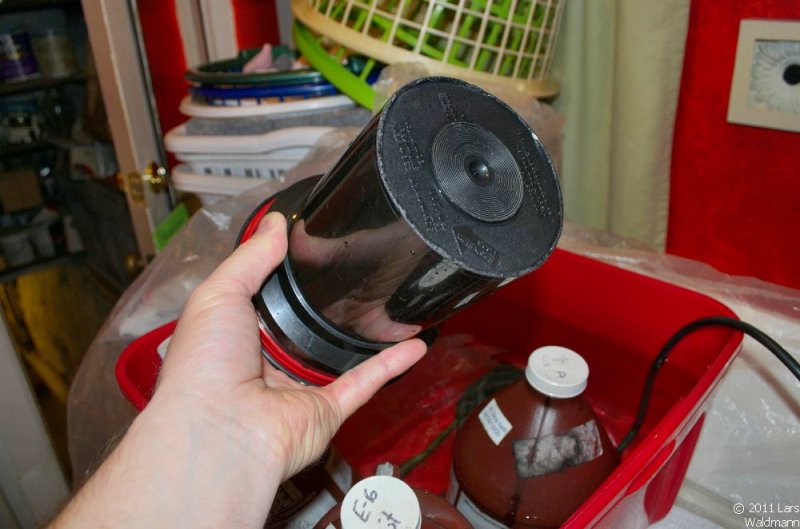
C-22 film processing during the bleach step
In one frame I could make out the top of trees. Films at this time did not have the latitude of films we have today. Our modern film emulsions have a more sensitive layer on top, followed by a layer of lower sensitivity. Film emulsions back in the day when the C-22 process was current did not have the wide latitude we are used to with our materials today.
While I was not able to get my friend’s photos from this roll due to underexposure, I enjoyed working with this roll of film that has been sitting in the camera for several decades. I was pleasantly surprised to see the markings on the edge of the film developed in the end, because I had no idea how and if 50 year old film would turn out.