This tutorial will show how to develop color negative film (C-41 process). Color negative film has a strong orange mask in the background when developed negative are viewed against the light. Because it is negative film, all colors will be in their complementary color, i.e. anything blue on film will be yellow, anything red will be green, etc.
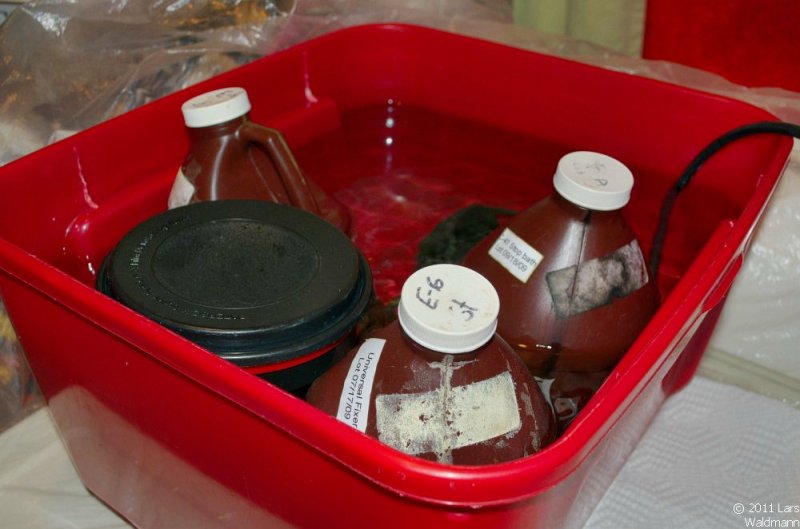
I will describe later the composition of the solutions used and where to get them. For now we will start by putting the four solutions color developer, stop bath, bleach, and fixer in a warm water bath. The water temperature of the solutions needs to be 37 °C/100 °F.
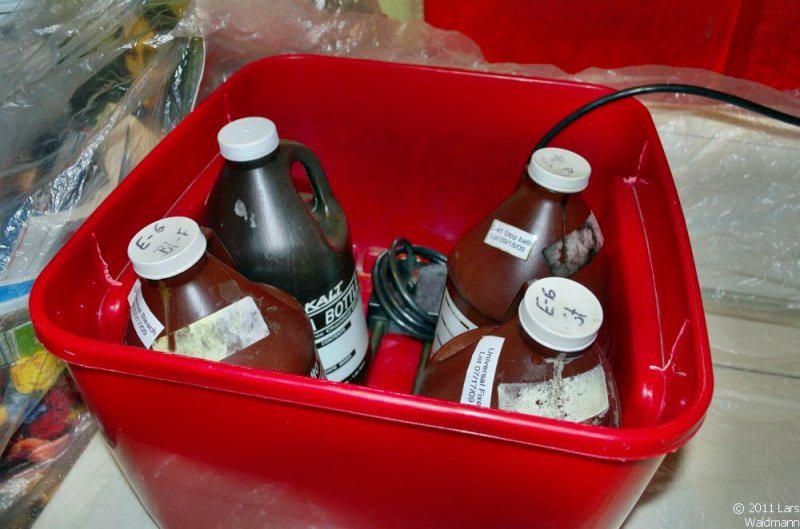
I have a heating element that is set to the right temperature. Aquarium heaters (for tropical fish) may also work. To warm up the solutions as quickly as possible, I add hot tap water and then let everything equilibrate for about 30 min.
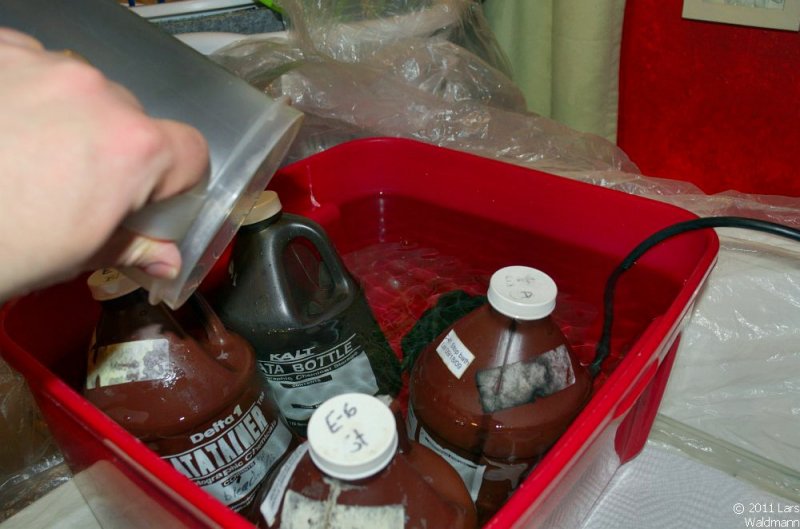
Here I am adding water to the tote.
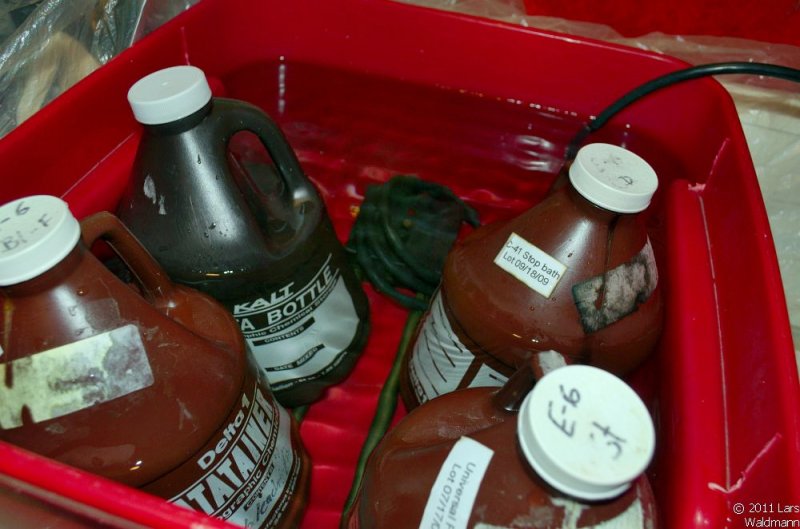
Now everything is equilibrating.
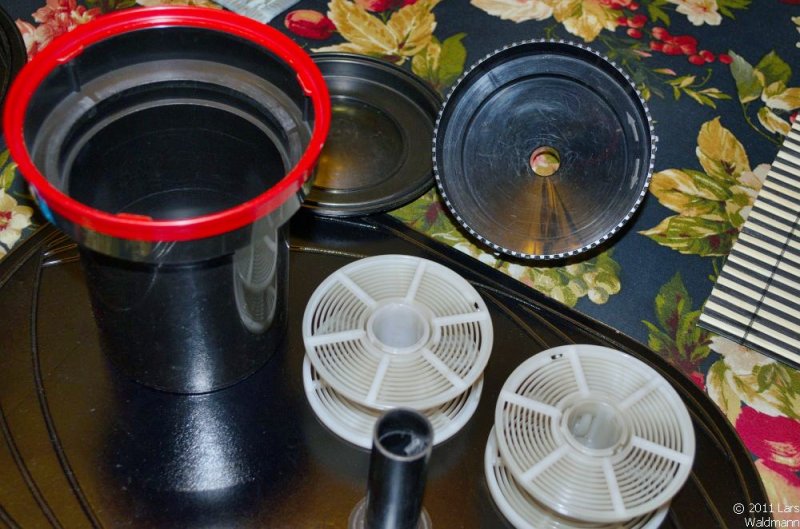
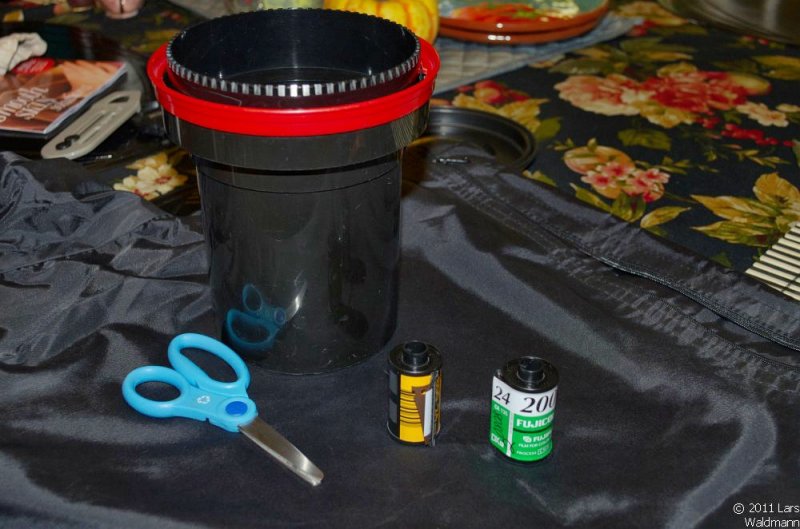
While the solutions are warming up, it is time to prepare the developing tank. Here I will develop two rolls of film. I use the Paterson tank system, for which I have tanks to hold from 1-8 rolls of film.

First step is to pull out the leader out of the film cartridge. I like to affix a small label at the beginning of the film, so I can keep the rolls in order.
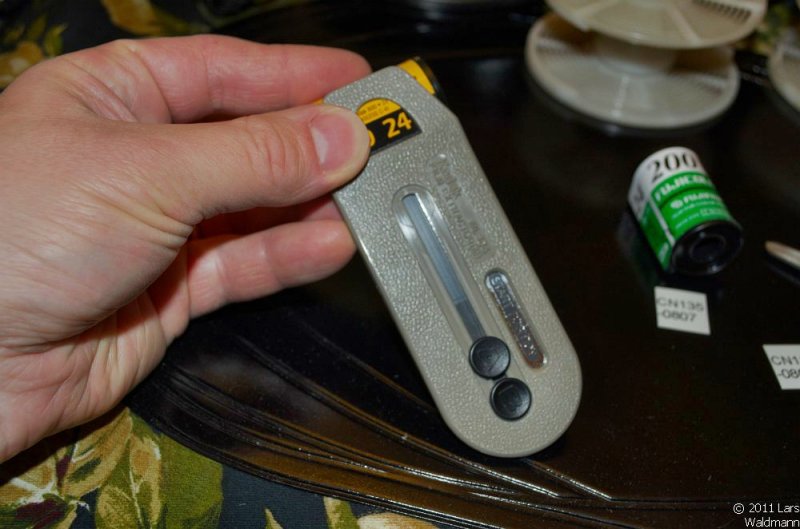
Here I use the device to pull out the leader out of the cartridge.
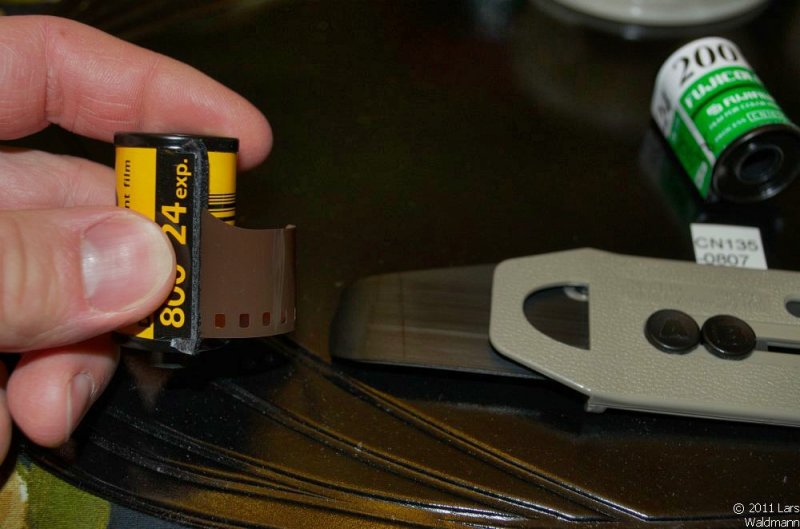
After successful retrieval of the leader.
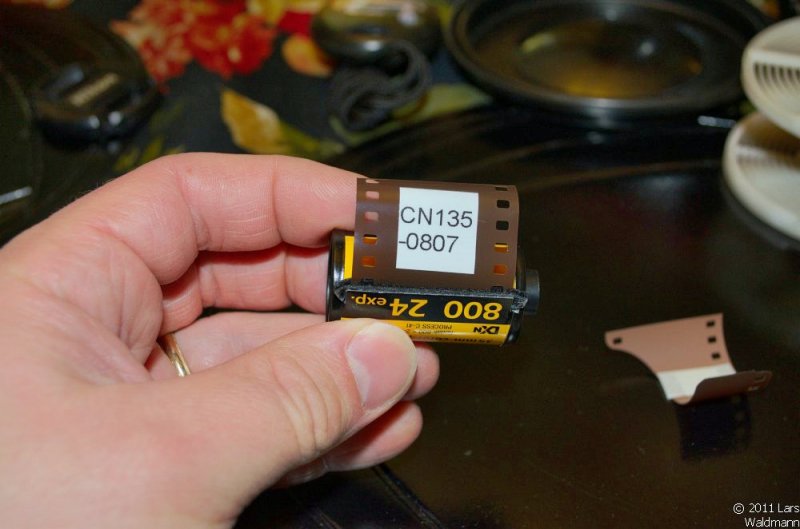
Here I have cut off the leader and attached a small (waterproof) label to the film.

The next steps need to take place in the dark, or alternatively in a changing bag. Changing bags come in different size and are two layers of lightproof nylon with openings for one’s hands. This allows to wind film onto the reels in daylight. After film has been wound onto the reel, the cartridge is cut off at the end and the reel is inserted into the tank. After the daylight-proof lid has been added, all development steps can be done in daylight.
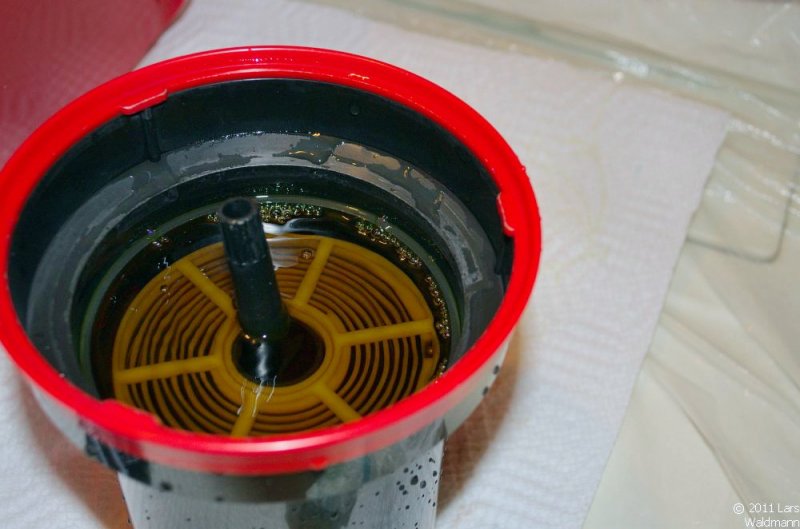
Here everything is ready for the actual development. The cartridges are empty, the film is on reel inside the tank.
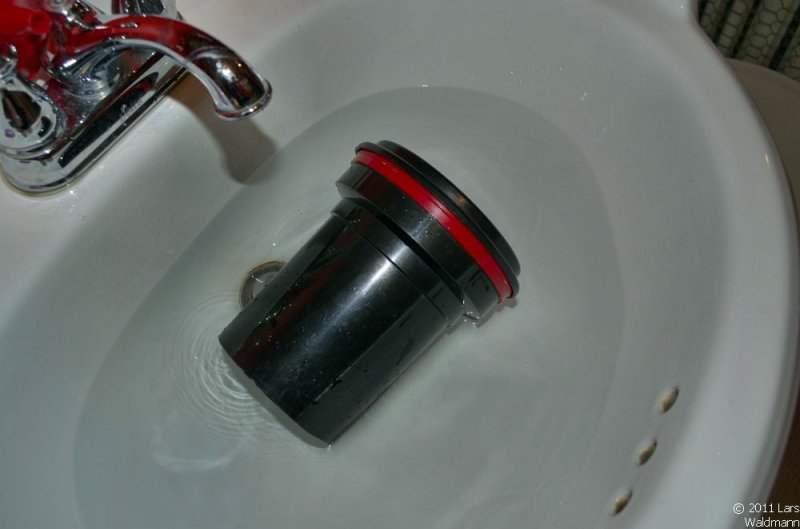
After adding the lid to the tank, the first step is to warm up the tank from the outside with hot water. I do this in a sink and rotate the tank by hand in hot water for about 90 sec.

Here I am about to pour in the color developer, the only critical step in the C41 process. After pouring in developer, the filled tank needs to be put into the water bath to maintain the temperature. The tank needs to be inverted every 30 sec during the 3 min 15 sec development step.
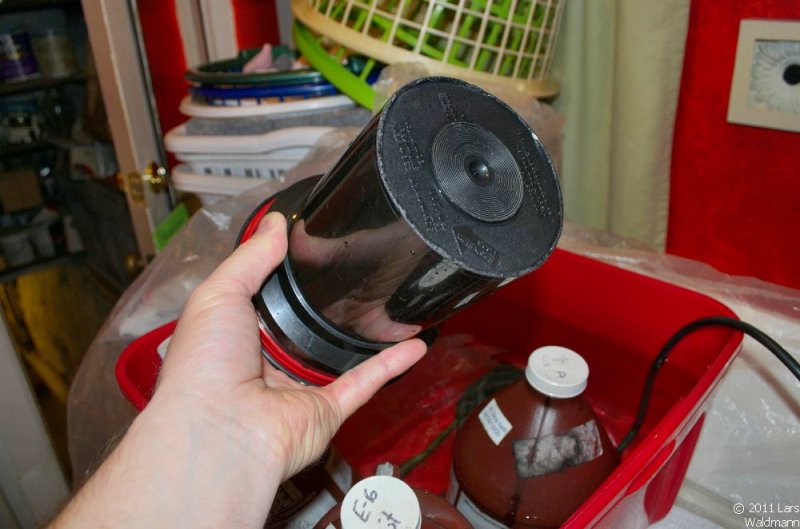
Here is how I keep the tank at temperature during the color developer step.
And here is the tank inversion shown, which needs to be done every 30 sec.

When the time is up (3.25 min), the developer needs to be poured back into the storage bottle. Then the developing process needs to be stopped by either using a stop bath step (which I prefer), or to rinse the tank with water (I rinse 4-5 times).

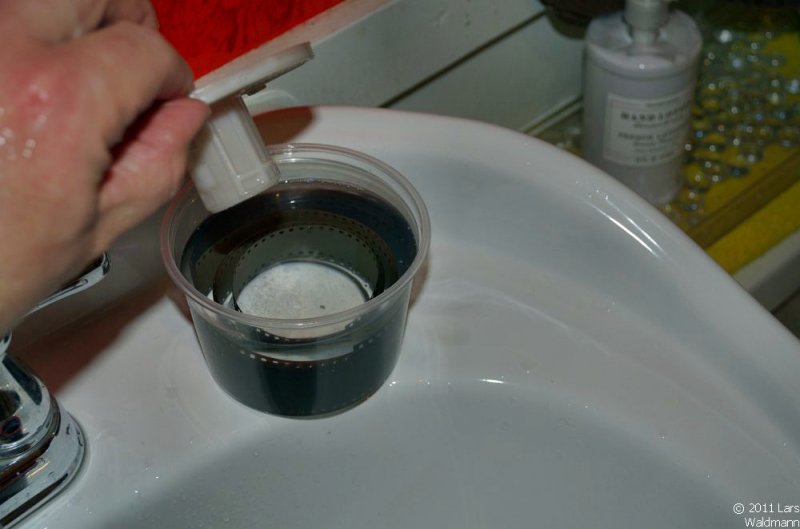
Here I am rinsing the tank with lots of water to remove any developer residue. Now that all traces of developer are removed from the film, the remainder of the processing can be performed at daylight. The remaining steps are now to bleach the film, which is removal of metallic silver, which formed during the developing step, and to fix the film (removal of undeveloped silver halogenides and removal of any masks left on the film base). After the bleaching and fixing step, only dyes remain in the film base. Some people use blix (bleach-fix) to combine the bleaching and fixing steps, but I prefer to do them separately, which gives me more control for troubleshooting of the process.

Here is how the film looks after the developer step.
Here is the film during the bleaching step.
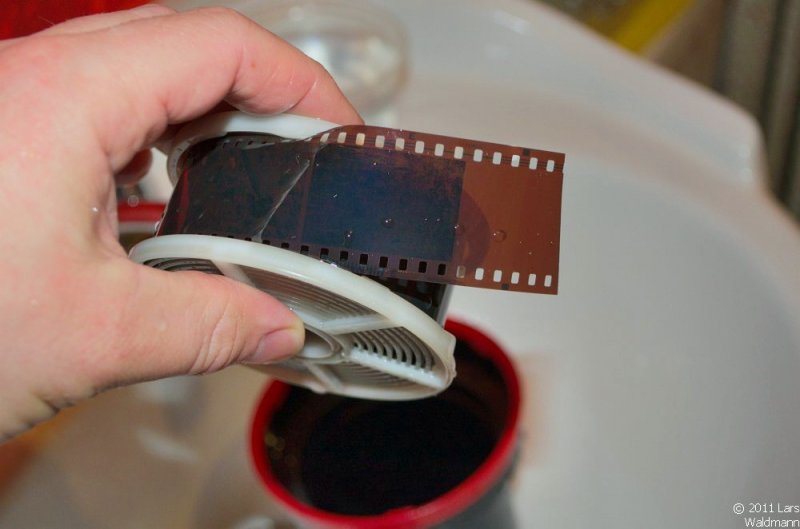
Here is the film at the end of the developing process. It is now relatively translucent. The next steps are to wash the film properly nd hang it up to dry.
Before hanging up the film to dry, I immerse it in a bath of Photoflo-200, which is a detergent that facilitates removal of water droplets from the film.
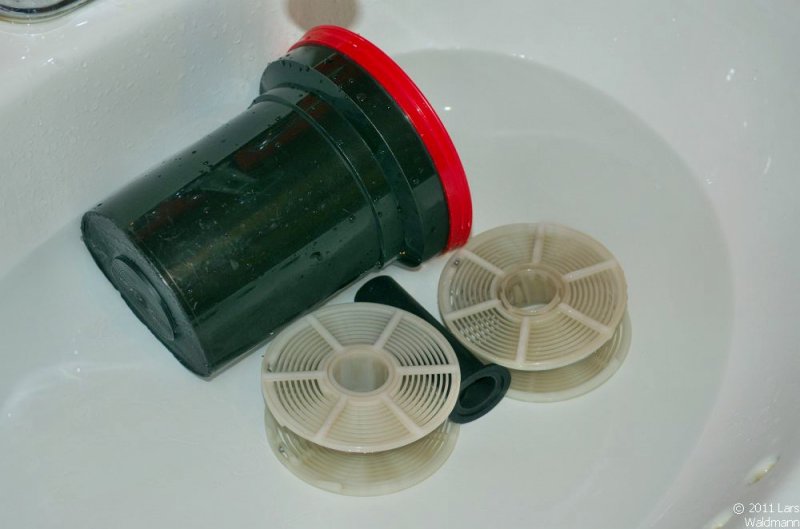
To clean, I like to rinse out the used equipment in hot water, and then let it dry.
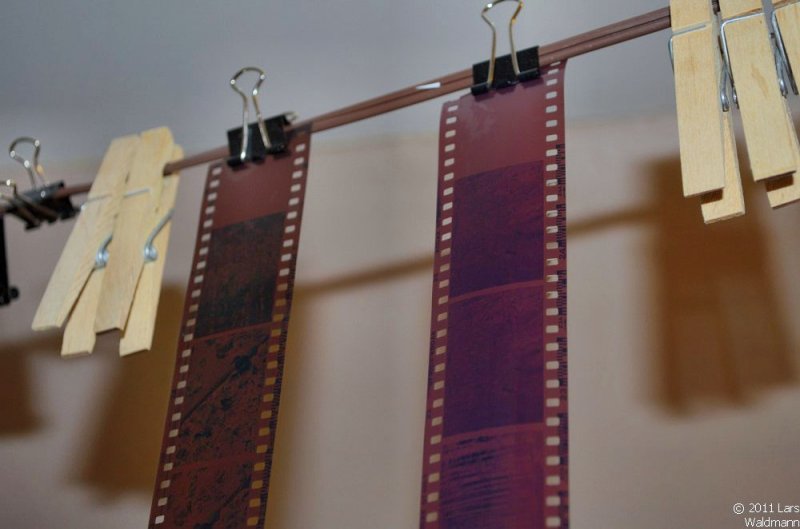
Here is the developed film drying. I just use paper clips of different sizes to hang up film.
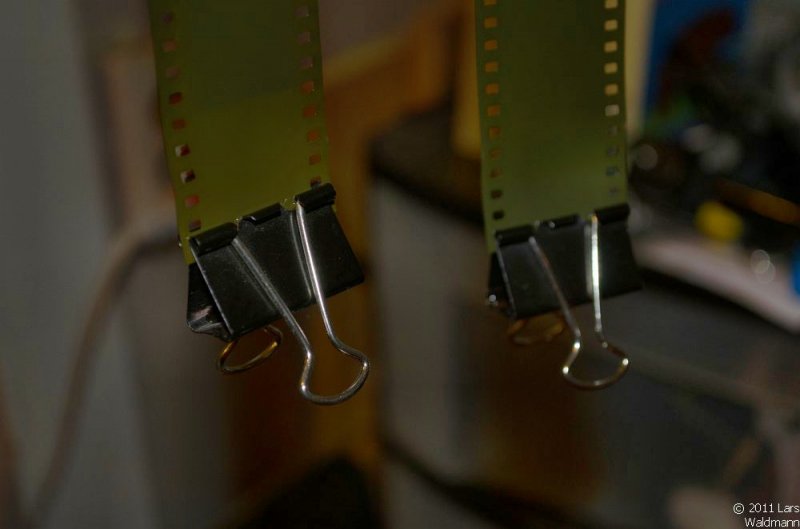
Similarly, I use paper clips on the bottom. This adds enough weight to hold the film down in a straight path.
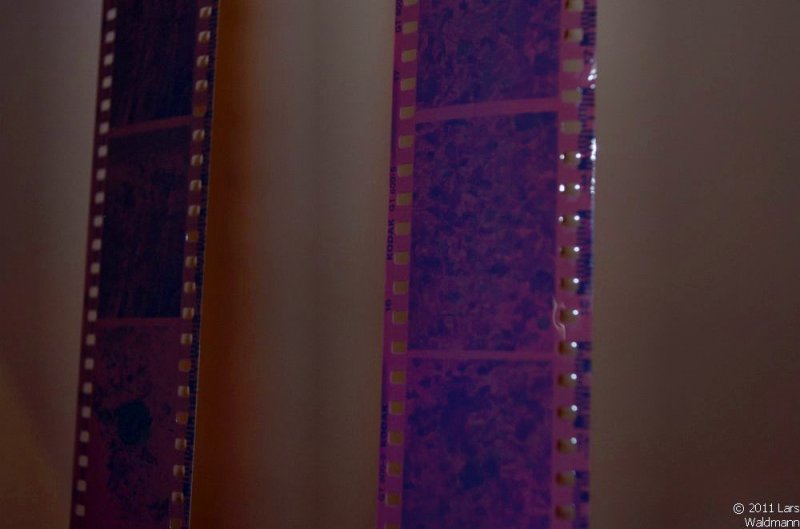
This is a view of the still wet film. After letting the film dry (typically takes 4-8 hours), I like to stored it rolled up with the emulsion pointing outwards for ~12 hours before scanning. This removes the curl that film sometimes carries over.
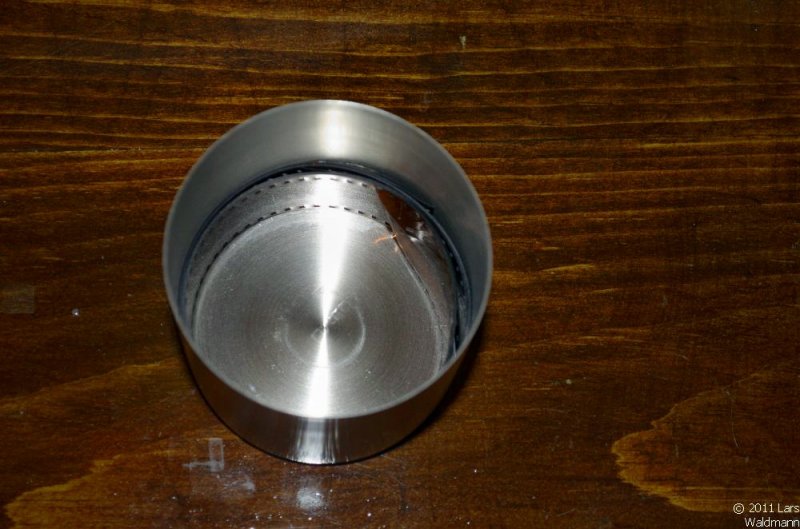
Here is the film stored to remove any curl. This makes scanning easier.
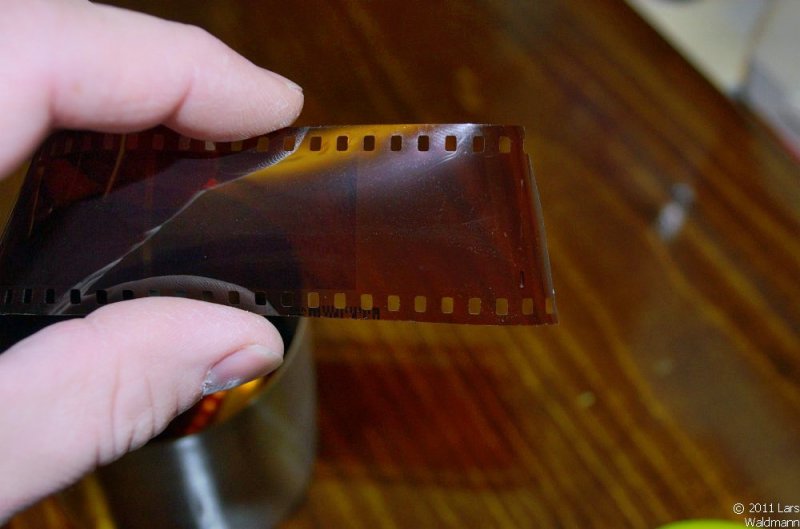
Here is the dried film ready for scanning. I will talk about the options for scanning film in the next tutorial.
Before I go into the composition of the processing solutions, let me summarize the processing steps:
- Prewarming development tank in hot water: 90 sec
- C-41 color developer: 3.25 min
- Stop bath: 30-60 sec
- Washing warm water: 5 times (fill tank with water, close lid, invert tank 2-3 times, pour out water).
- After the 3rd wash, I remove the tank lid, because the development process has completed and the following process steps just remove undeveloped silver halides and dyes from the film
- Bleach (to remove developed silver from the film): 5 min
- Washing warm water: 4 times (or until the water stays relatively clear)
- Fixer: 5 min
- Washing warm water: 5 times
The only critical step in this process is the color developer step, which controls contrast of the negative.
B&H and Adorama sell a dry substance kit for C-41 development. Also, C-41 color developer may be available in some photographic stores. Normal b&w fixer can be used for fixing of the film.
Some kits use a combined bleach/fixing step instead of separate bleach and fixing steps. I prefer to have separate steps as it allows me to monitor visually the progress of the process.
After it became more difficult and expensive to buy kits that contain all required solutions, I started to mix solutions from bulk chemicals.
Most of the chemicals used have the potential to cause skin burns under prolonged exposure, thus I strongly recommend to use standard protective equipment which consists of goggles and latex gloves. Eye protection is particularly critical as some of the components are bases which have the potential to cause severe eye damage. In case of chemical exposure to skin or eye it is important to immediately flush the exposed area with copious amounts of water. Sodium hydroxide in particular is a very strong base. Do not expose potassium ferricyanide to acidic conditions, as a toxic gas may form, use only as directed in the instructions.
Add all chemicals in the order listed, otherwise side reactions and solubility issues may arise. To weigh out the chemicals, inexpensive balances are available on eBay, just search for “50g scale”.
The composition of the solutions is outlined in the following PDF file:
C-41_process
Note: Proceed at your own risk, some of the chemicals used here are hazardous.
In the US chemicals required for the solutions are available from:
www.artcraftchemicals.com
www.photoformulary.com
and some from www.bhphoto.com or www.adorama.com
Pingback: C-41 | DIY Cinefilm Workflow