The case for DNG files

Whether we like it or not, Adobe Digital Negative (DNG) files are the future. More and more compact and more advanced digital cameras are capable to produce raw files. Raw files differ from JPG files in that they contain more information, and allow us to process JPG files from with modifications to the white balance, exposure, sharpening, etc. To get the best of both worlds, most current cameras can save raw and JPG files at the same time. The difficulty with raw files has been that they are a proprietary file format, whereas JPG files are a well established universal file format.

We live in a world of standards. When we buy parts in one hardware store we can expect them to fit parts from another hardware store, because hardware parts use standardized dimensions. In the digital world, we have standards, too. Morse code is one of the oldest standards that precedes digital computer technology from a time when telecommunication lines could only transfer binary signals. While Morse code became obsolete for most communications when voice transmissions became the standard, it is still used for some communications.

In the world of computers, virtually all systems can read and write ASCII files. This standard was created in 1960, and is the backbone of all information exchange between computers, and between programs running within the same computer system regardless of the operating system or software used.

In 1992, the JPEG standard was created as file format for photos. It superseded the GIF file format, which was limited to 256 colors only and was previously used for photos and graphics. The JPEG standard overcame these limitations and enables the storage of photos in an effective manner using compression. While better file formats are available today, JPEG files will remain the standard in the future, because there are countless photos in this format published and archived.

Virtually all interchangeable lens cameras and many advanced point and shoot cameras can record photos in RAW format. Most manufacturers utilize proprietary raw file formats. Originally raw file formats could only be processed with manufacturer’s software. The quality of the manufacturer’s software varies greatly, although I have heard that the file /format structure of different raw file formats does not vary too much. In the midst of this landscape Adobe specified the DNG (Digital Negative) file format in 2004, as proposal to replace proprietary raw file formats with a common standard. So far, only a few manufacturers have embraced DNG as raw file format for their cameras. Most other manufacturers continue to use their proprietary formats. Another annoyance is that raw files from the same camera manufacturer but from different models are different as well, which means that always some time elapses after introduction of a new camera model before it is fully supported by software.

Why is DNG a great file format for archival purposes? While current software supports raw files from current and past cameras, it forces us to continually upgrade software when a new camera model is used, otherwise raw files from the new camera can not be processed. Makers of software so far have supported older cameras, but we can’t be sure this trend will continue in the future. Camera manufacturers do not always have the best algorithms available for processing raw files, whereas using specialized software allows us to process raw files from different cameras under comparable conditions.

In the last 13 years I have used or still use the following cameras that record raw files: Kodak NC2000e, Kodak DCS410, Kodak DCS460, Nikon D100, Nikon D70, Kodak DCS14nx, Nikon D200, Canon A560, Ricoh GX100, Canon A650IS, Kodak P712, Nikon D7000, Canon SX130IS, and Sony NEX-3.

I do not use any manufacturer’s software. Some manufacturer’s software is not available for newer operating software versions, and I recently learned that Nikon has started to drop support for older cameras in their latest software versions.

By converting raw files to DNG files, no loss of quality occurs, and it ensures that raw files will remain accessible in the future. I have been able to re-process photos with a newer raw processing software and gotten significantly improved results compared to files originally processed with manufacturer’s software. With DNG files, raw files from cameras long past can be processed utilizing improved algorithms, resulting in significant quality enhancements.

How can proprietary raw format files be converted into DNG files? Adobe offers a free DNG converter to convert proprietary raw formats into DNG (downloadable here). Another option is to use the digikam software package (downloadable here) that includes a DNG file converter.

I believe that archiving raw files in DNG is a smart decision which will ensure that raw files will remain accessible in the future. While raw processing software today can process proprietary raw files, there is no guarantee that raw processing software of the future will support raw files of cameras from a long time ago. With ample DNG file support present today we can be assured that DNG files will continue to be supported in the future.

Thanks for reading!

Lars

PS: After first drafting this post, Adobe announced their intention to offer certain software packages, including Photoshop, as subscription-only version. While it is not known at this point how it will affect future updates to the free DNG converter, I would not be surprised if it had not impact at all. Adobe has been promoting the DNG standard since its inception not linking it to their software. The available updates also serve Photoshop Elements, which continues to be offered in the traditional form.


Winter Impressions

In the last two weeks we had a lot more snow, including a major snow storm that gave us about 24″ (~60 cm) of snow. Because temperatures kept increasing shortly after the snowfall, most of the snow disappeared almost immediately.

We still have several weeks of winter left, although the warmer temperatures make us wonder every time if we are done with winter yet.

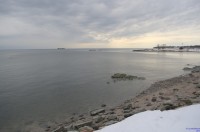
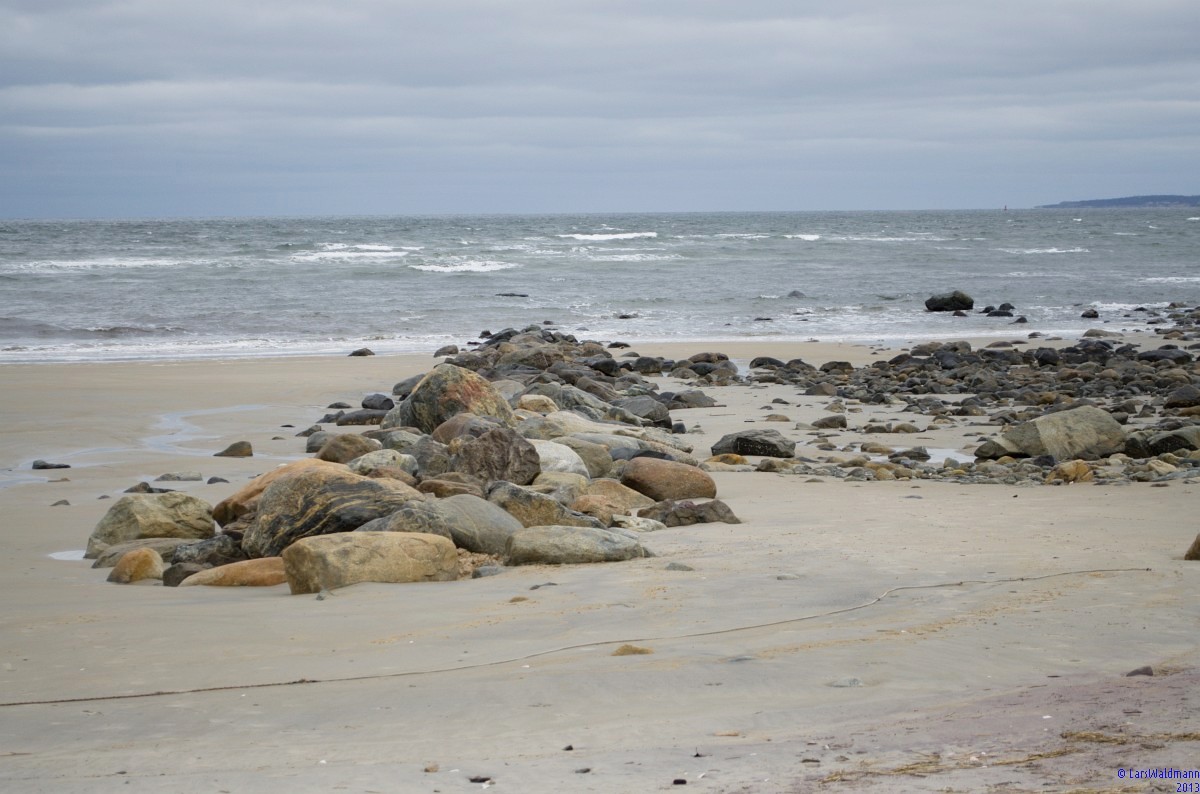
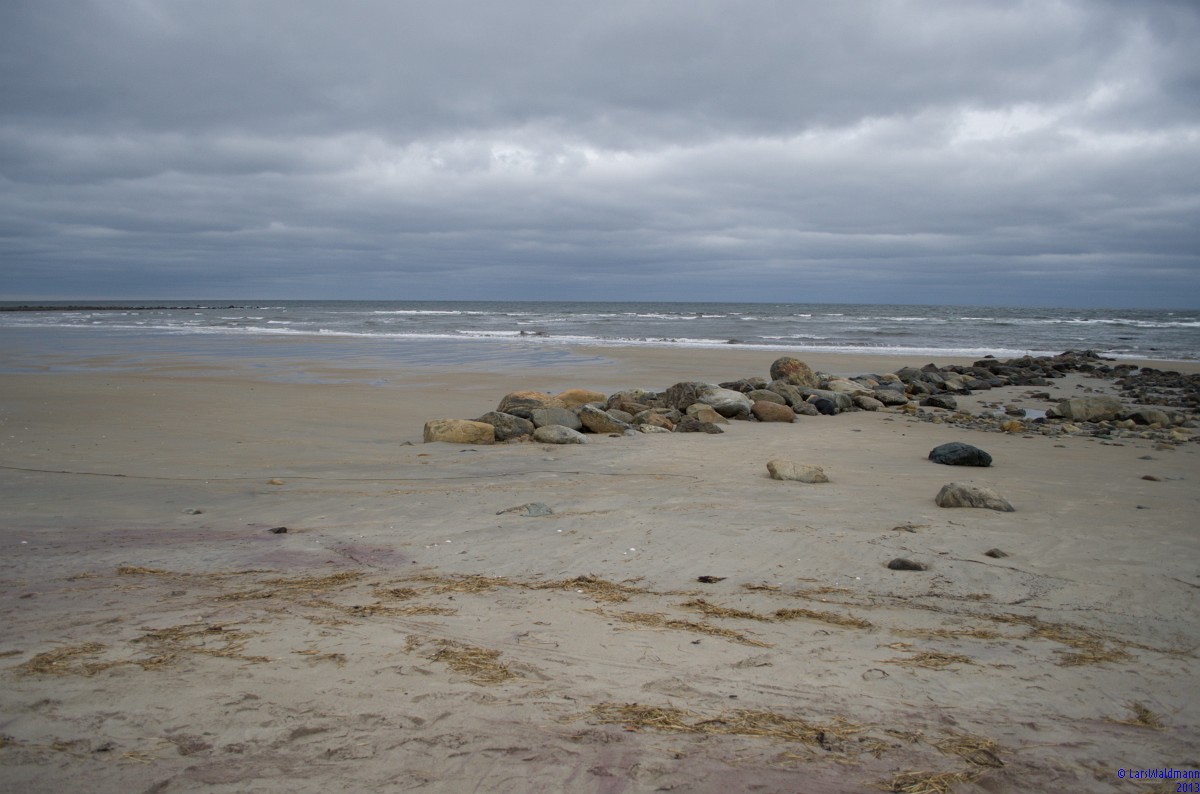
The photos from a beach are from West Haven, CT. The light had such a special quality and beauty.

A selection of photos

Today I will post photos from last weekend that do not have a common theme. I will describe a little bit about each photo.

CN135-0890-01

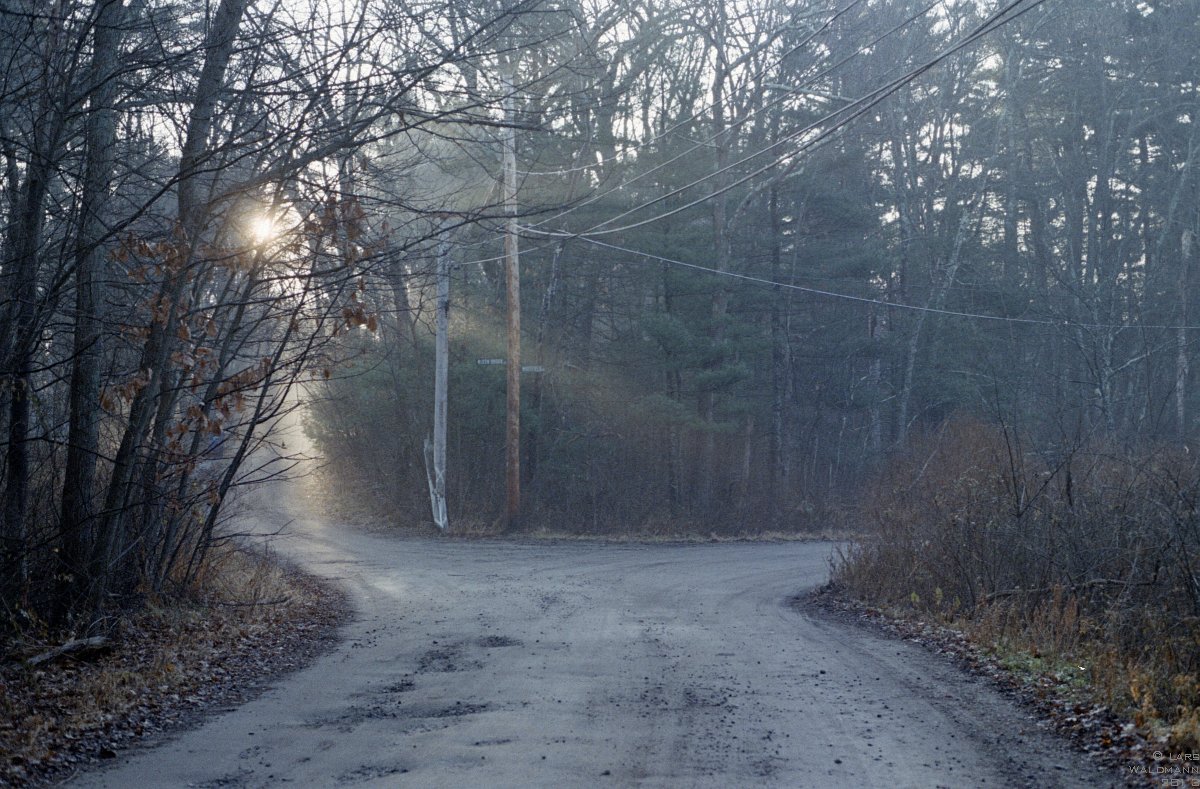
During a cold winter morning, the rays of morning sunlight shine through trees in Billerica, MA.

CN135-0890-09

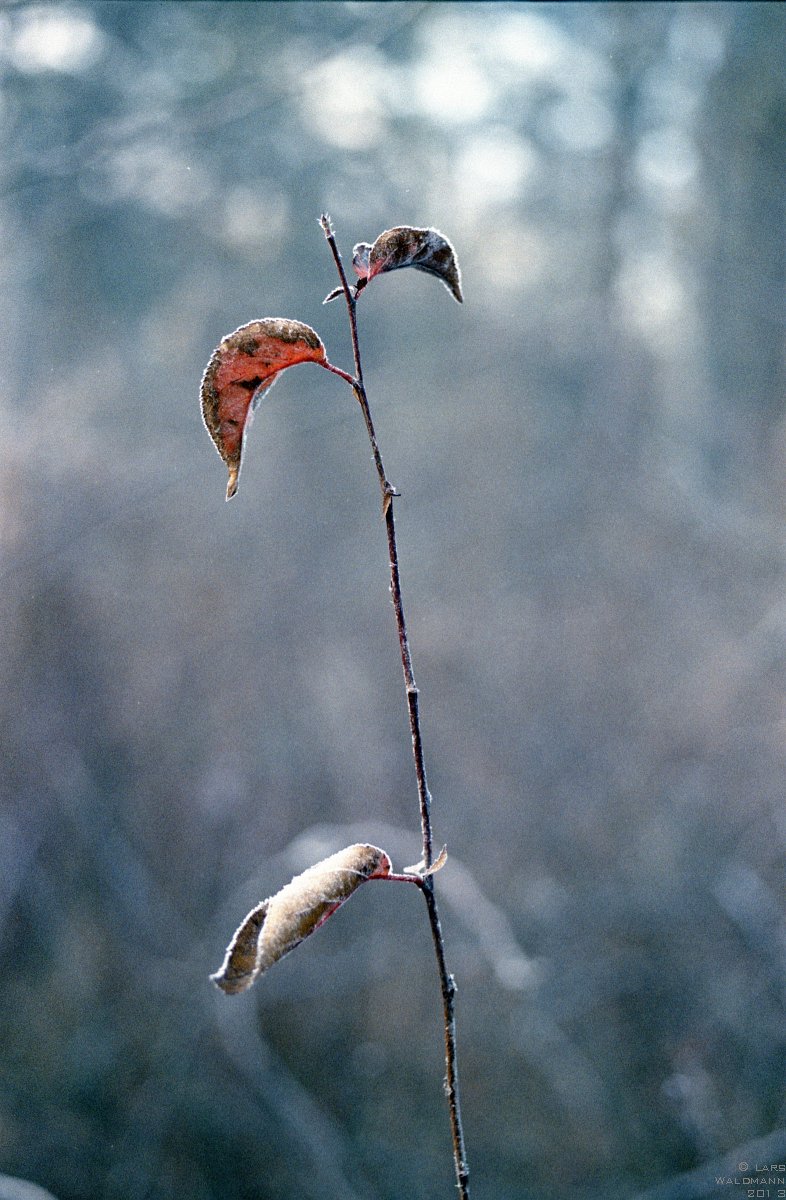
On a branch a few colorful leaves from the fall are left behind and coated with frost on the edges, reminding me of the last season before our currently very frigid temperatures.

CN135-0890-23

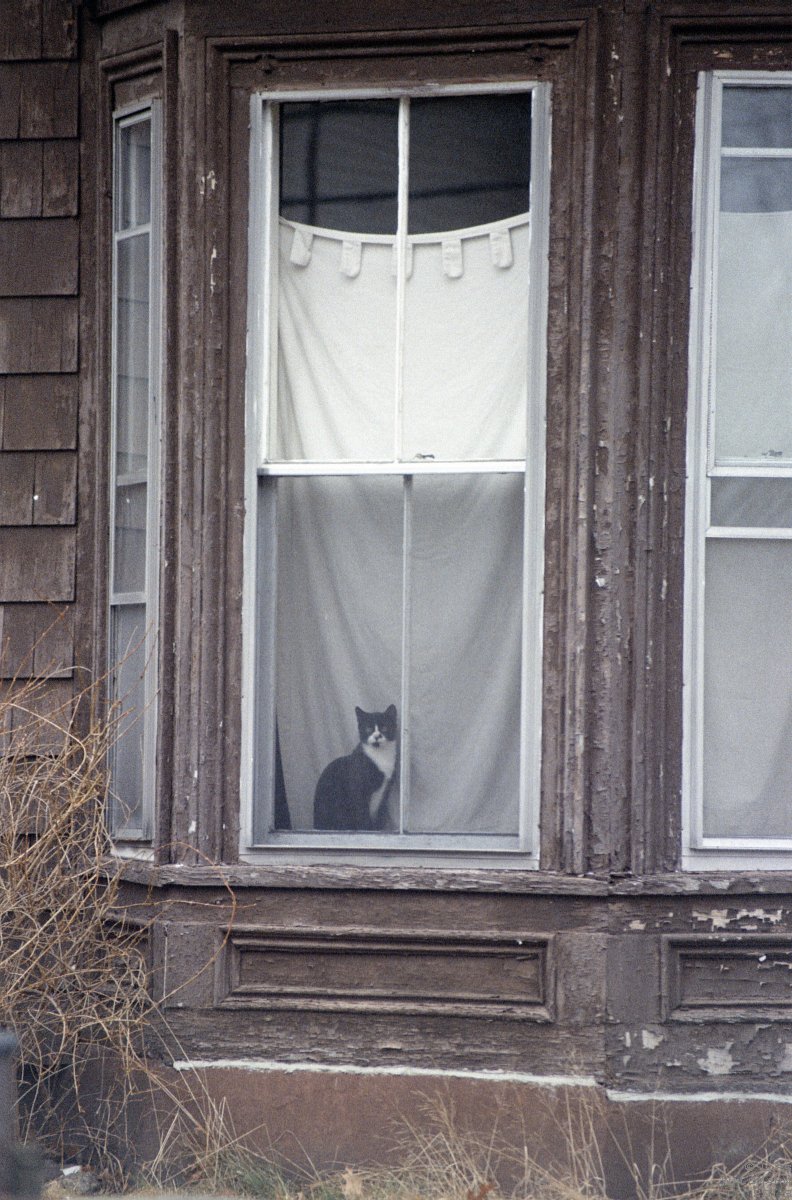
During a walk in our neighborhood we came across this house with a tuxedo cat. Our pets have a life of their own when we are not around.

CN135-0890-29

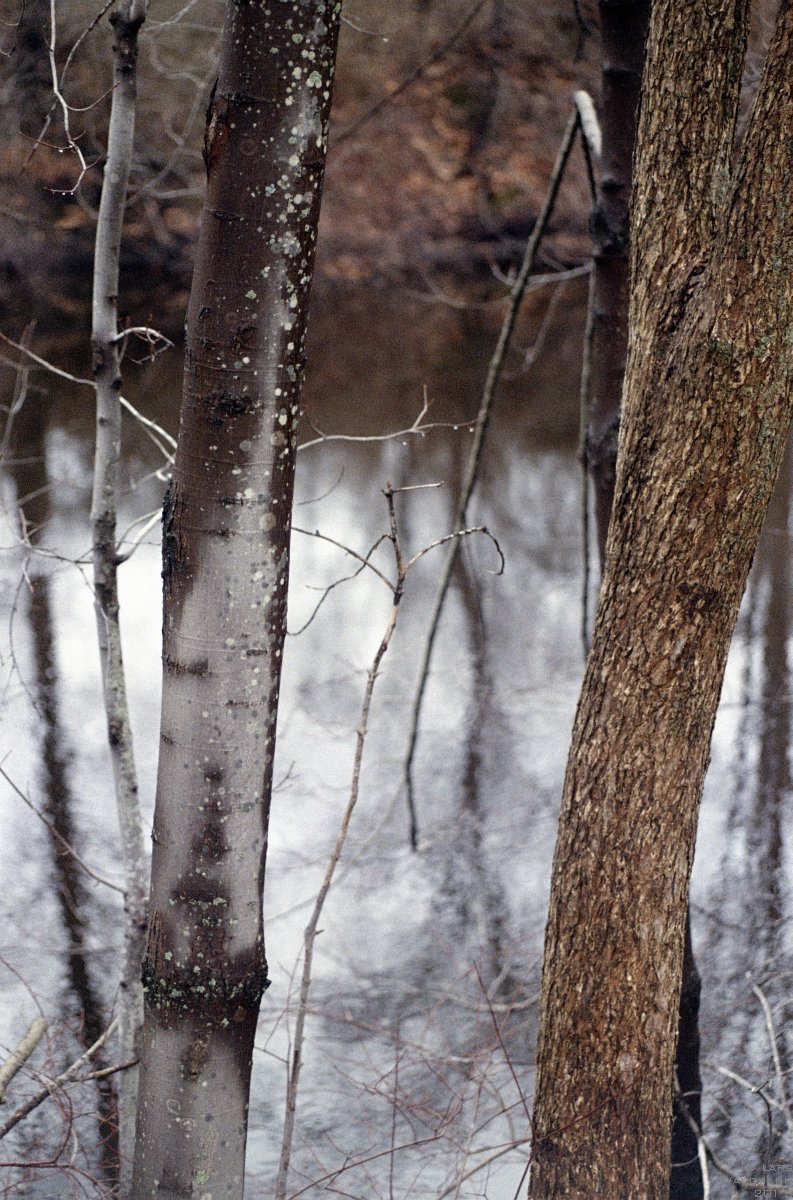
Trees on the Neponset River.

CN135-0892-38

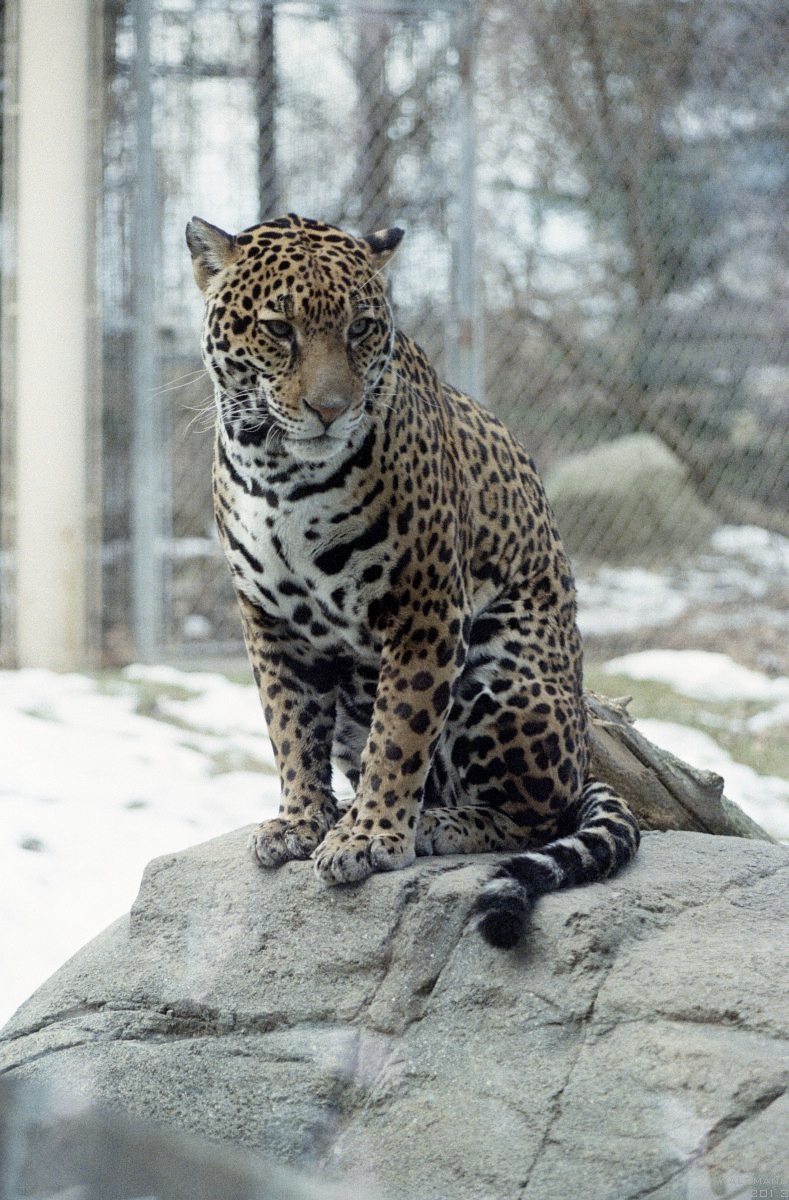
Leopard in the Stone Zoo (Stoneham, MA). When we got there first, the leopard was taking a cat nap on the rock, and then got up.

CN135-0893-05

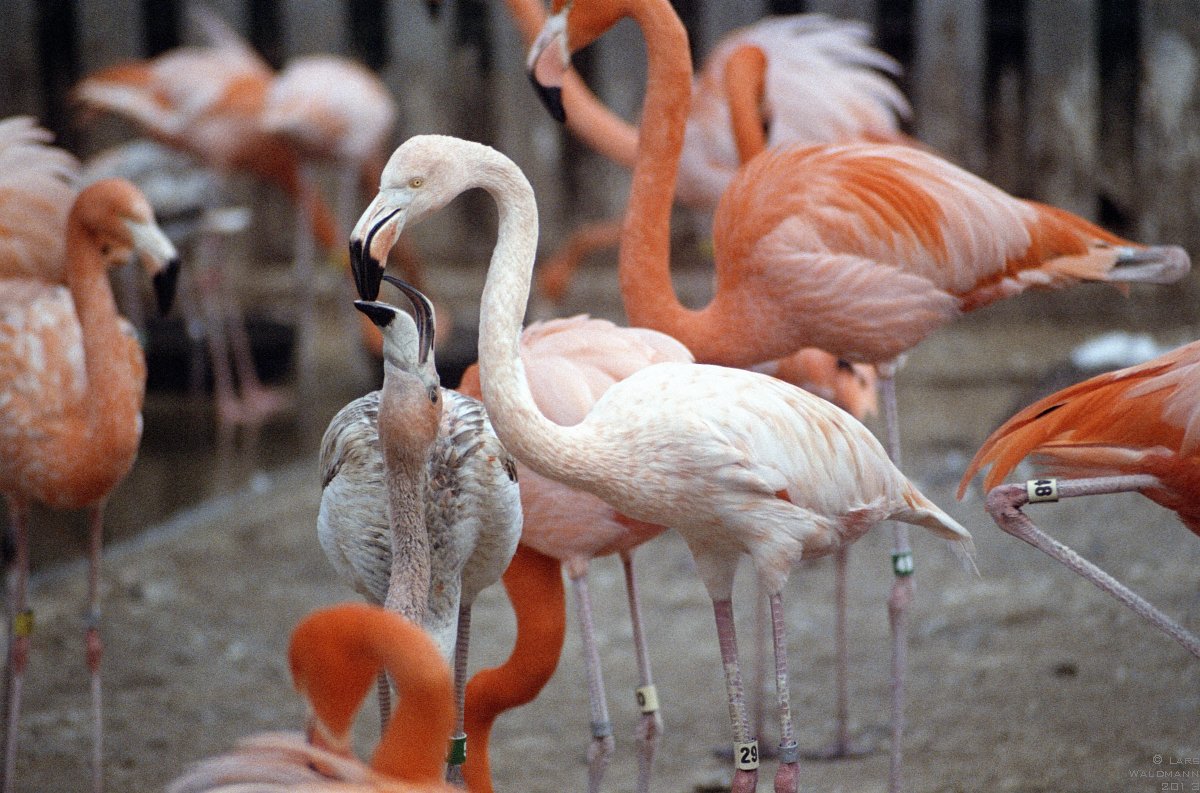
Flamingos in Stone Zoo. Here a young flamingo is fed by a parent.

CN135-0893-25

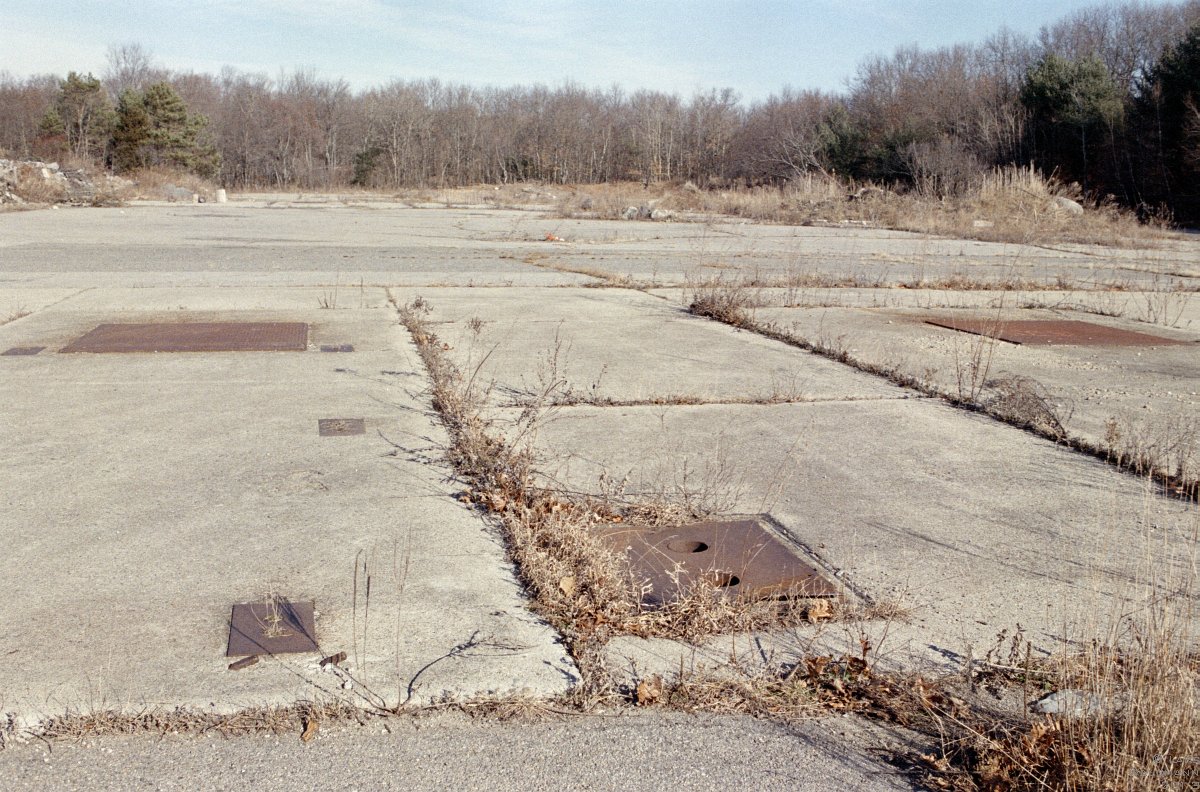
During the 1950s a Nike missile battery was stationed in Blue Hills. The missile launch area was typically at least half a mile away from the radar control area. This is what is left of the missile launch area. The steel covers in the ground mark the location where the missiles were held in their launch position.

CN135-0893-17

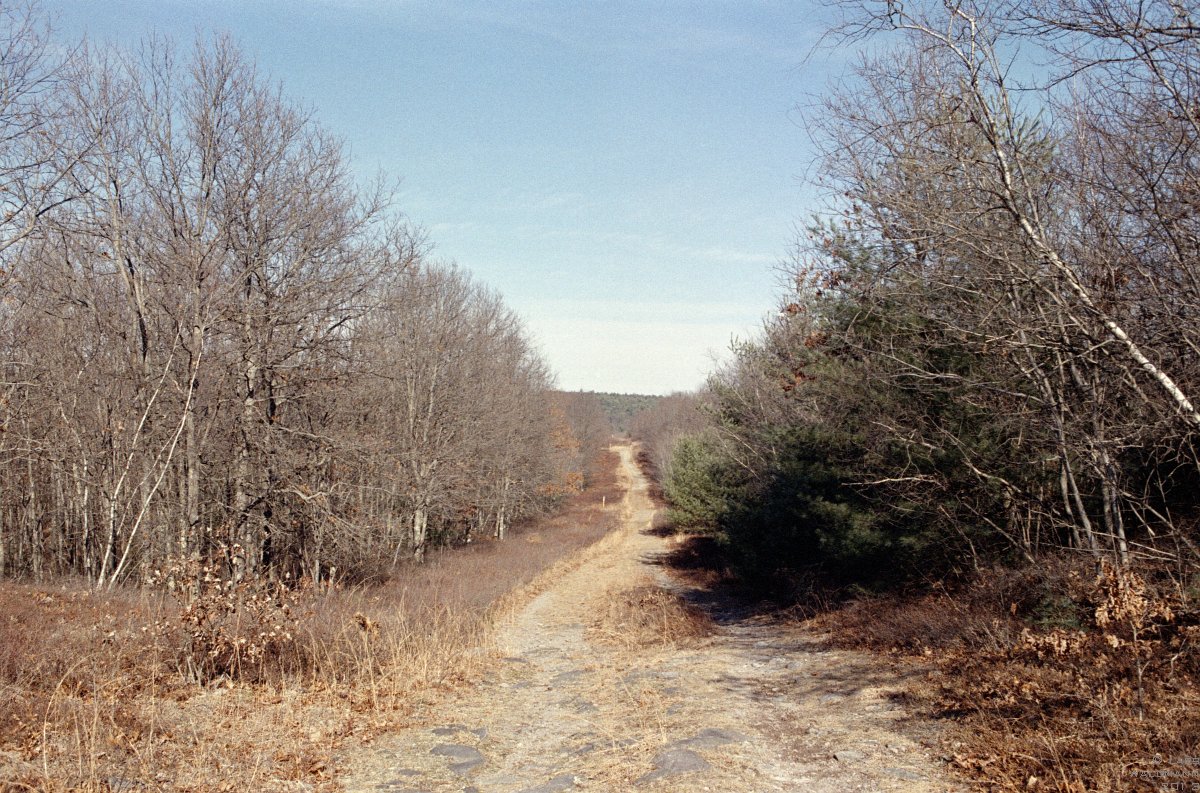
A path in Blue Hills near the missile launch area with an underground natural gas pipeline, hence the fairly straight, cleared path. Somebody in the area’s administration has a good sense of humor, calling these paths “Pipe Line” on official maps.

CN135-0893-38

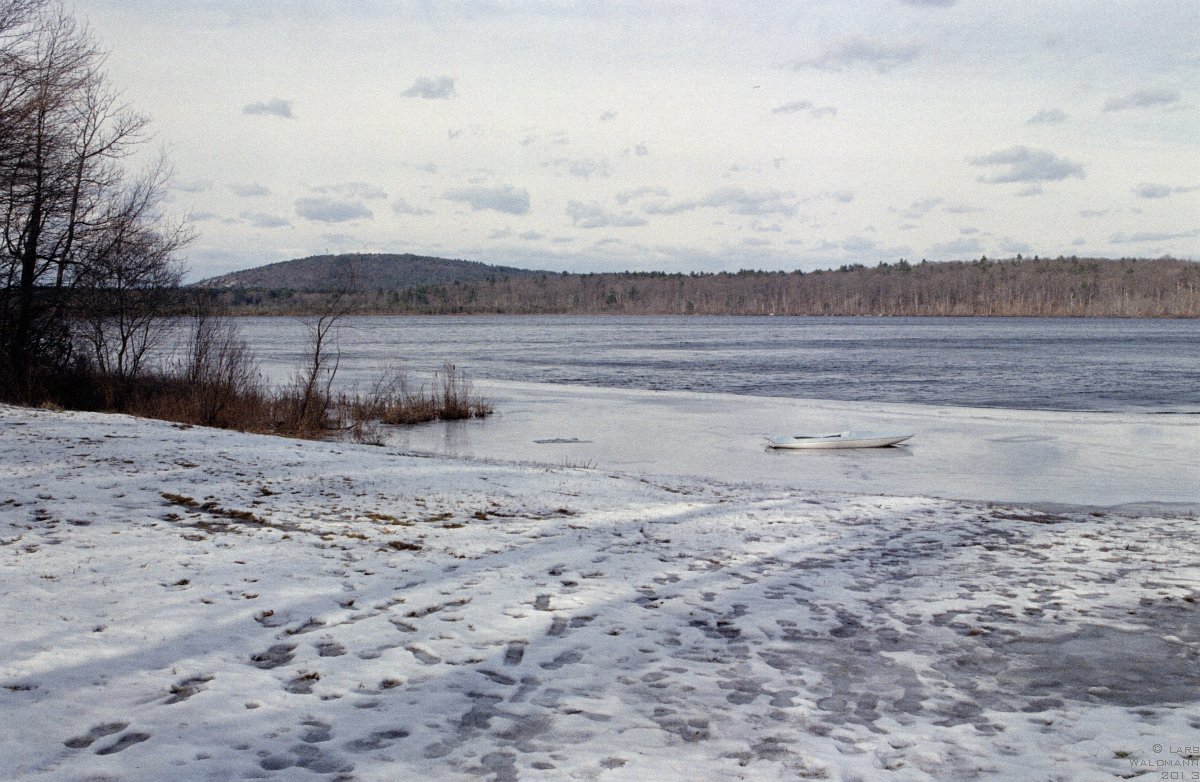
The last photo for today is from Ponkapoag Pond. On the other side is the boardwalk that I have posted photos from before. A little bit of ice was on the edge of the lake. The hill in the background is Great Blue Hill.

Thank you for joining my little trip through our area.

Winter is here – motives for photography are still abundant

Usually we get the first snow at the end of November or beginning of December at the latest. Last year and this year again, winter was in no rush. Two days ago, we finally got a significant amount of snow. Because it is cold enough, the snow is not melting right away any more.

Here are a couple of impressions from our neighborhood:

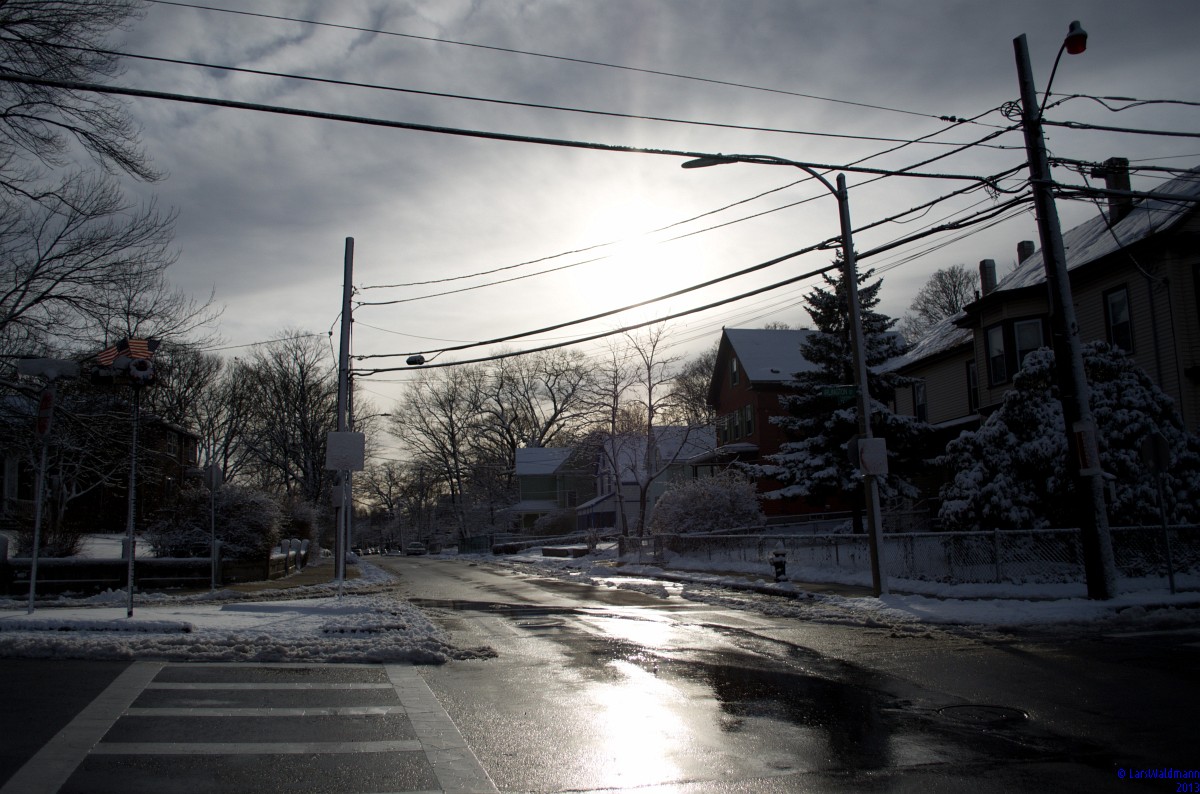
Winter light During winter, the sun is very low in the sky, which often creates beautiful warm light, even at a simple street corner.

Winter trees
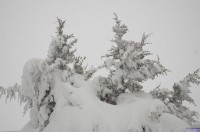
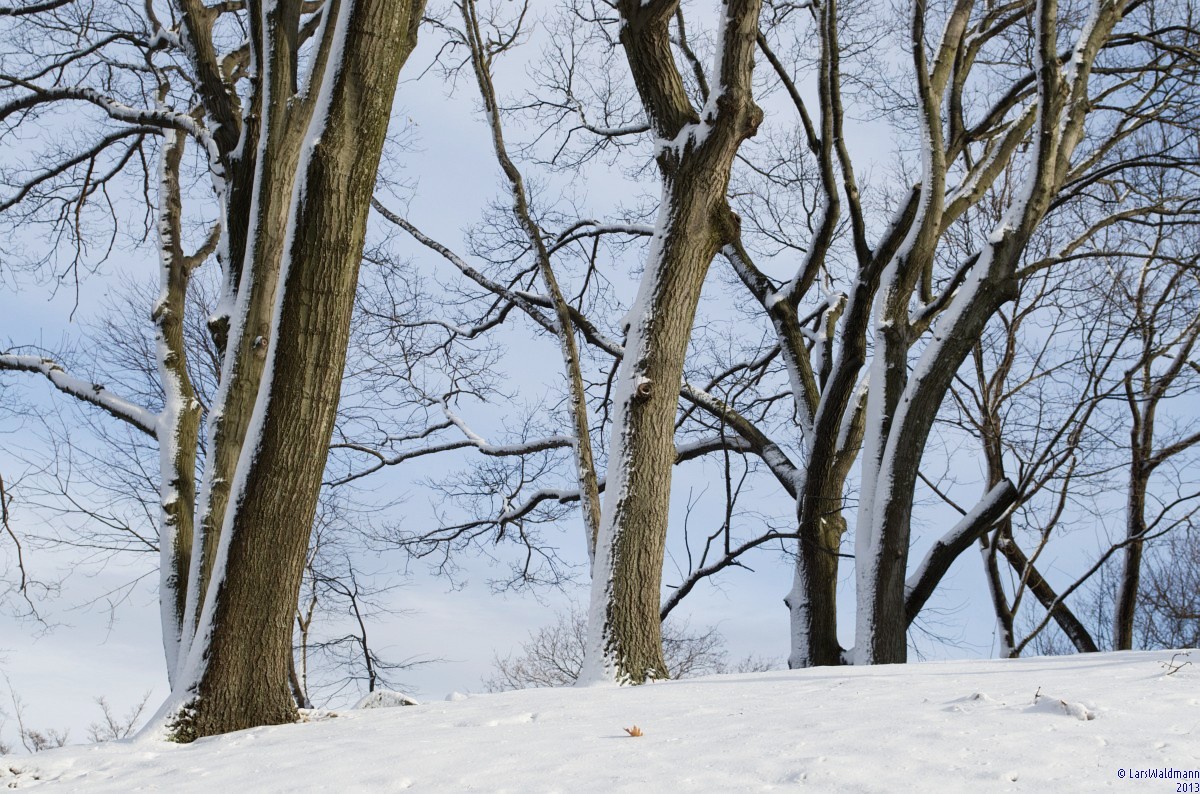
I like the way trees look like after snow has fallen. The snow often highlights branches and the tree trunk in a very nice way.

Winter
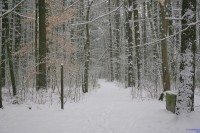
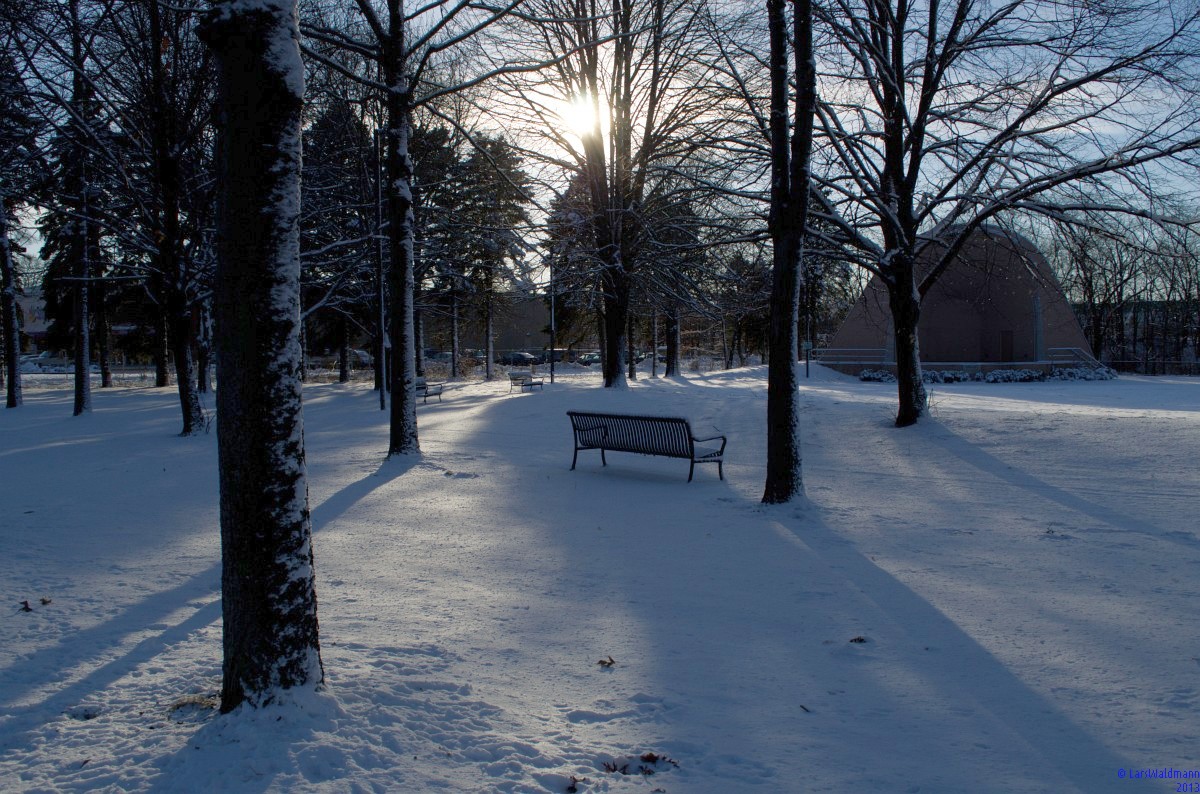
At a local park, the texture of snow and the low sun light creates a beautiful winter scene. Every other time of the year it would be difficult to photograph straight into the sun, but in the winter it is possible without getting lens flare into the photo.

Photography in the winter months is definitely more challenging than any other time during the year. The daylight hours are much shorter. Trees have lost their leaves, and most plants and flowers are dormant. Overall it is a pretty desolate condition out there. In addition, it takes determination to be out there in the cold.

Unfortunately a lot of photographers miss the winter months. While there is not too much color out there (and our eyes get naturally drawn to color and color contrasts), there are still plenty of opportunities out there. The details that draw me to photography during the winter months are textures, sunlight in the landscape, and trees. Only during the winter months can we see the structure of tree branches.

Another photography opportunity during the winter months are beaches. In the summer and early fall lots of people are on the beach and it is difficult to photograph without getting people into the pictures. I also like to visit places in the off-season to see how they look like in cold weather or with snow on top.

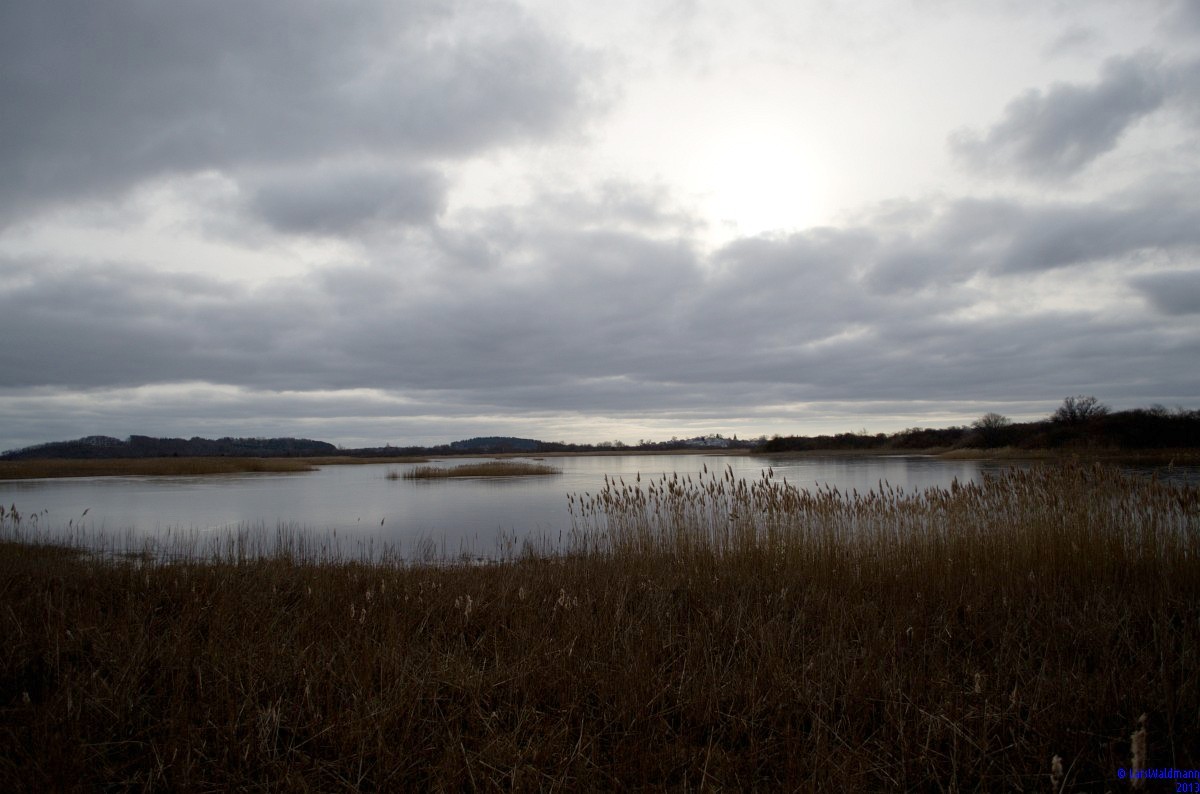
Recently Kim and I went to Plum Island, which is a barrier island on the coast line North of Boston (Northshore). In the summer, it is sometimes difficult to get into the reservation, because so many people arrive already early. When we went there this month, we enjoyed the beautiful light over the marshes and the beaches.

Plum Island 3 Plum Island 2 Plum Island 1

So, if you did not plan to be out there this winter, maybe this post can inspire you to check out some beautiful places in your neighborhood. I know there are beautiful places everywhere. They may not be as famous as the National Parks in the Southwestern USA, but the are not less beautiful.

Thanks for reading and enjoy the winter months,

Lars

Cape Cod sea shore

dsc_2015b

Recently we decided to drive down to Cape Cod from Boston. In the summer we usually do not attempt to do this, because traffic is very heavy especially on weekends.

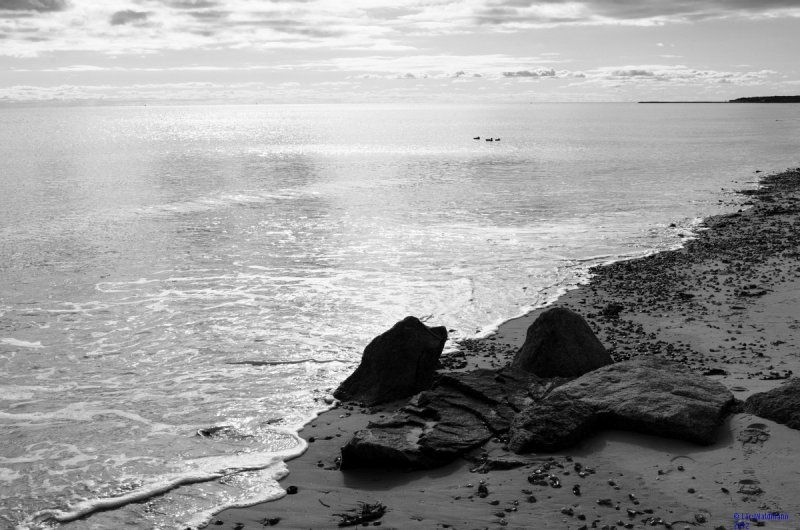
I like to visit the ocean and beaches in the off-season for photography, because there are fewer people on the beach, and I like to see how nature changes through the different seasons.

As you can see in my photos, the light was really beautiful. Besides us, a couple of seagulls, and a few other people, nobody was on the beach.

Seeing the clouds in the sky, and the waves gently breaking on the beach instilled in me such a feeling of peace and happiness. I am once again grateful for one of many beautiful spots that are so close within our reach that we can see them.
Thanks for stopping by! Lars

Beautiful locations: Schwaebisch-Hall, Germany

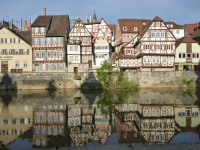
A couple of weeks ago on a business trip in Germany, I got up early for a walk before breakfast. The light was so beautiful on that morning, that I still fondly remember the walk along the river around the beautiful old (exposed wood frame) buildings.
Union Station – Washington DC

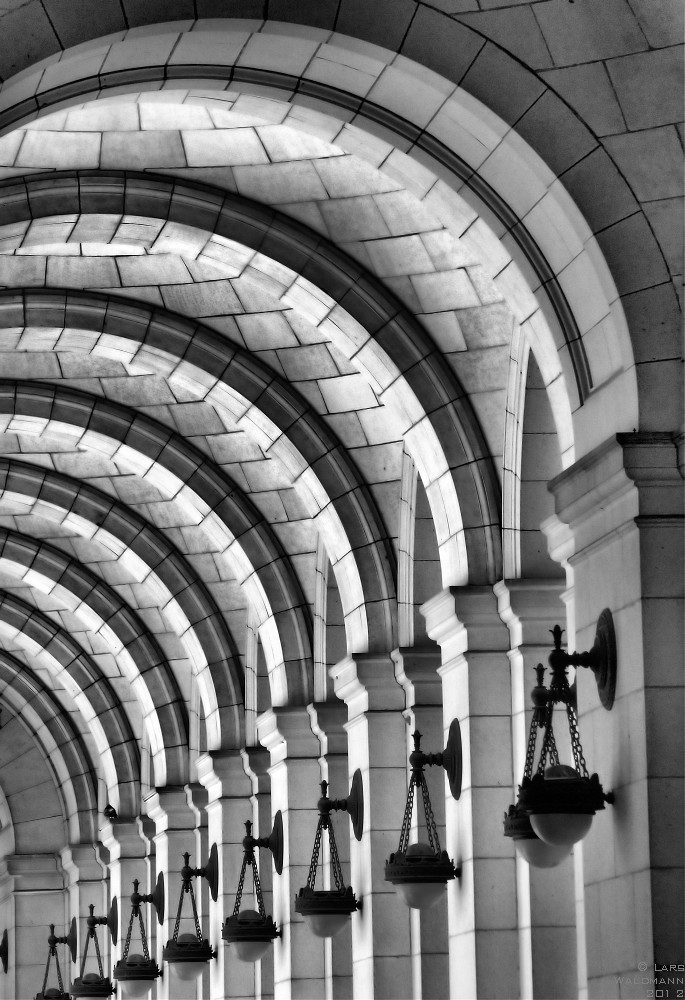
Since a couple of years now, my wife and I decided to go on road trips down the coast (we start in Boston), instead of flying to our destination(s). We just got back from our last trip that led us to Washington DC, Philadelphia, and Cape May, NJ. Since we have traveled by car quite a few times, we now have favorite places and restaurants to go to. In DC we like to go to the Food Court on the lower level of Union Station, where a wide variety of different food is offered.

The architecture of Union Station always amazes me, and the train station in our nation’s capitol is especially beautiful.

Tutorial: How to develop color negative film (C-41)

This tutorial will show how to develop color negative film (C-41 process). Color negative film has a strong orange mask in the background when developed negative are viewed against the light. Because it is negative film, all colors will be in their complementary color, i.e. anything blue on film will be yellow, anything red will be green, etc.

I will describe later the composition of the solutions used and where to get them. For now we will start by putting the four solutions color developer, stop bath, bleach, and fixer in a warm water bath. The water temperature of the solutions needs to be 37 °C/100 °F.

dsc_4040

I have a heating element that is set to the right temperature. Aquarium heaters (for tropical fish) may also work. To warm up the solutions as quickly as possible, I add hot tap water and then let everything equilibrate for about 30 min.

dsc_4042

Here I am adding water to the tote.

dsc_4043

Now everything is equilibrating.

dsc_4049

While the solutions are warming up, it is time to prepare the developing tank. Here I will develop two rolls of film. I use the Paterson tank system, for which I have tanks to hold from 1-8 rolls of film.

dsc_4050

First step is to pull out the leader out of the film cartridge. I like to affix a small label at the beginning of the film, so I can keep the rolls in order.

dsc_4051

Here I use the device to pull out the leader out of the cartridge.

dsc_4055

After successful retrieval of the leader.

dsc_4058

Here I have cut off the leader and attached a small (waterproof) label to the film.

dsc_4061

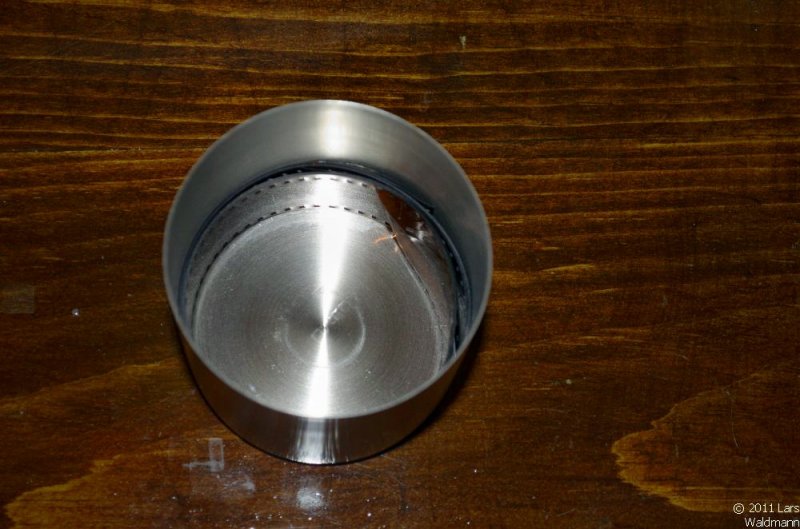
The next steps need to take place in the dark, or alternatively in a changing bag. Changing bags come in different size and are two layers of lightproof nylon with openings for one’s hands. This allows to wind film onto the reels in daylight. After film has been wound onto the reel, the cartridge is cut off at the end and the reel is inserted into the tank. After the daylight-proof lid has been added, all development steps can be done in daylight.

dsc_4063

Here everything is ready for the actual development. The cartridges are empty, the film is on reel inside the tank.

dsc_4066

After adding the lid to the tank, the first step is to warm up the tank from the outside with hot water. I do this in a sink and rotate the tank by hand in hot water for about 90 sec.

dsc_4067

Here I am about to pour in the color developer, the only critical step in the C41 process. After pouring in developer, the filled tank needs to be put into the water bath to maintain the temperature. The tank needs to be inverted every 30 sec during the 3 min 15 sec development step.

dsc_4069

Here is how I keep the tank at temperature during the color developer step.

dsc_4068

And here is the tank inversion shown, which needs to be done every 30 sec.

dsc_4071

When the time is up (3.25 min), the developer needs to be poured back into the storage bottle. Then the developing process needs to be stopped by either using a stop bath step (which I prefer), or to rinse the tank with water (I rinse 4-5 times).

dsc_4072

Here I am rinsing the tank with lots of water to remove any developer residue. Now that all traces of developer are removed from the film, the remainder of the processing can be performed at daylight. The remaining steps are now to bleach the film, which is removal of metallic silver, which formed during the developing step, and to fix the film (removal of undeveloped silver halogenides and removal of any masks left on the film base). After the bleaching and fixing step, only dyes remain in the film base. Some people use blix (bleach-fix) to combine the bleaching and fixing steps, but I prefer to do them separately, which gives me more control for troubleshooting of the process.

dsc_4074

Here is how the film looks after the developer step.

dsc_4076

Here is the film during the bleaching step.

dsc_4083

Here is the film at the end of the developing process. It is now relatively translucent. The next steps are to wash the film properly nd hang it up to dry.

dsc_4086

Before hanging up the film to dry, I immerse it in a bath of Photoflo-200, which is a detergent that facilitates removal of water droplets from the film.

dsc_4088

To clean, I like to rinse out the used equipment in hot water, and then let it dry.

dsc_4090

Here is the developed film drying. I just use paper clips of different sizes to hang up film.

dsc_4091

Similarly, I use paper clips on the bottom. This adds enough weight to hold the film down in a straight path.

dsc_4093

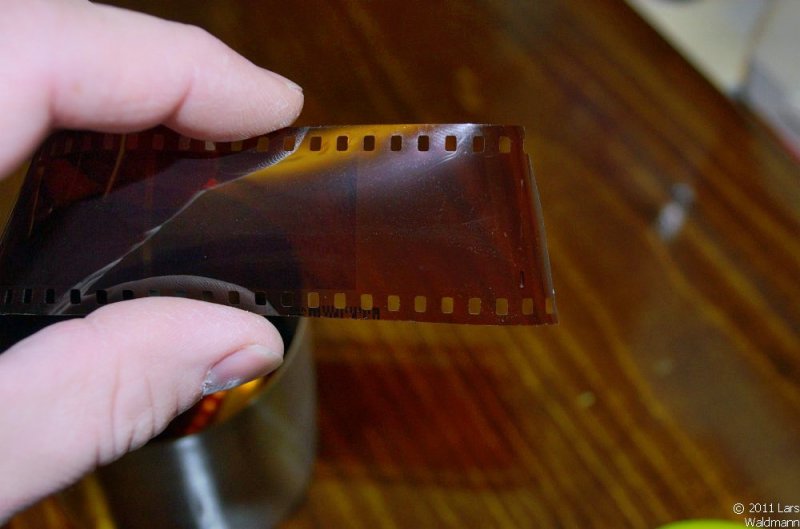
This is a view of the still wet film. After letting the film dry (typically takes 4-8 hours), I like to stored it rolled up with the emulsion pointing outwards for ~12 hours before scanning. This removes the curl that film sometimes carries over.

dsc_4094

Here is the film stored to remove any curl. This makes scanning easier.

dsc_4096

Here is the dried film ready for scanning. I will talk about the options for scanning film in the next tutorial.

Before I go into the composition of the processing solutions, let me summarize the processing steps:

  • Prewarming development tank in hot water: 90 sec
  • C-41 color developer: 3.25 min
  • Stop bath: 30-60 sec
  • Washing warm water: 5 times (fill tank with water, close lid, invert tank 2-3 times, pour out water).
  • After the 3rd wash, I remove the tank lid, because the development process has completed and the following process steps just remove undeveloped silver halides and dyes from the film
  • Bleach (to remove developed silver from the film): 5 min
  • Washing warm water: 4 times (or until the water stays relatively clear)
  • Fixer: 5 min
  • Washing warm water: 5 times

The only critical step in this process is the color developer step, which controls contrast of the negative.

B&H and Adorama sell a dry substance kit for C-41 development. Also, C-41 color developer may be available in some photographic stores. Normal b&w fixer can be used for fixing of the film.

Some kits use a combined bleach/fixing step instead of separate bleach and fixing steps. I prefer to have separate steps as it allows me to monitor visually the progress of the process.

After it became more difficult and expensive to buy kits that contain all required solutions, I started to mix solutions from bulk chemicals.

Most of the chemicals used have the potential to cause skin burns under prolonged exposure, thus I strongly recommend to use standard protective equipment which consists of goggles and latex gloves. Eye protection is particularly critical as some of the components are bases which have the potential to cause severe eye damage.  In case of chemical exposure to skin or eye it is important to immediately flush the exposed area with copious amounts of water. Sodium hydroxide in particular is a very strong base. Do not expose potassium ferricyanide to acidic conditions, as a toxic gas may form, use only as directed in the instructions.

Add all chemicals in the order listed, otherwise side reactions and solubility issues may arise. To weigh out the chemicals, inexpensive balances are available on eBay, just search for “50g scale”.

The composition of the solutions is outlined in the following PDF file:
C-41_process

Note: Proceed at your own risk, some of the chemicals used here are hazardous.

In the US chemicals required for the solutions are available from:

www.artcraftchemicals.com
www.photoformulary.com
and some from www.bhphoto.com or www.adorama.com

A Ski Adventure

Recently I got to go on a skiing adventure with my friend Mike in the White Mountains in New Hampshire.

Our adventure started at the Pinkham Notch Visitor Center below Mt. Washington (Rt. 16). It took us a while to put all our equipment and food into two large backpacks. Starting at about 2000 ft altitude the walk at first seemed not to be too difficult, and it actually helped that the trail was covered with snow, which made walking on it a lot easier than walking over rocks like in the other seasons. The further up we went, the more difficult it became because of the altitude. The scenery also became really beautiful.


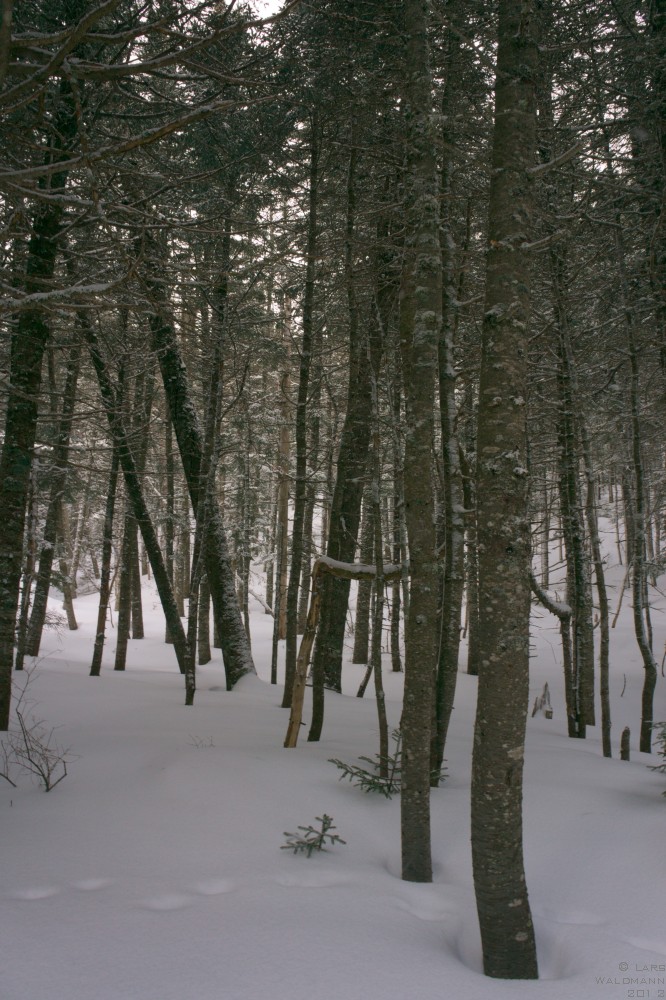
For the first time this season, it really felt like winter. So far this season, we almost had no snow at all, and it was just so beautiful to see a snow covered forest floor.

We walked further up, intersecting with other trails to Lions Head and Huntington Ravine.


The further up we went, the more beautiful it looked around us. After 2-3 hours we finally reached the Hermit Lake Shelters, the end of our hike (and beginning of the skiing adventure). We now had reached almost 4000 ft altitude.

After a lunch break with hot soup, peanut butter & jelly sandwiches, and hot chocolate it was time to change our footwear over into snow boarding/ski boots. It was difficult to stay warm, because there was an ice-cold wind blowing. Water in our bottles started to freeze.

After changing over, we were read to ski/ride down the John Sherburne Ski Trail. This trail was cut by the Civilian Conservation Corps (CCC) in the 1930’s. It leads down to the Pinkham Notch Visitor Center.


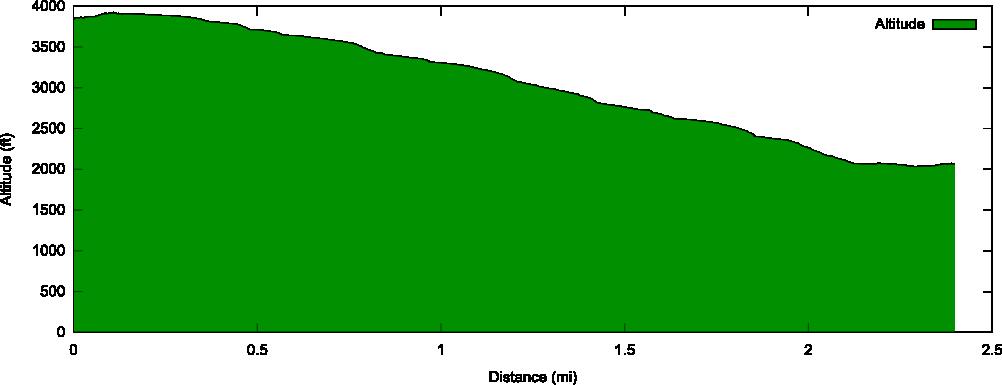
The Google Earth map shows Mt. Washington to the left, and our GPS trail. Rt. 16 is to the right. The altitude profile shows the start at just below 4000 ft and the bottom at just about 2000 ft.


The trail was wider than we expected and overall was not too steep. The length of the trail is about 2.3 miles. While it took us about 2.5 hours to hike up the mountain, it took about 15 min to ski down.


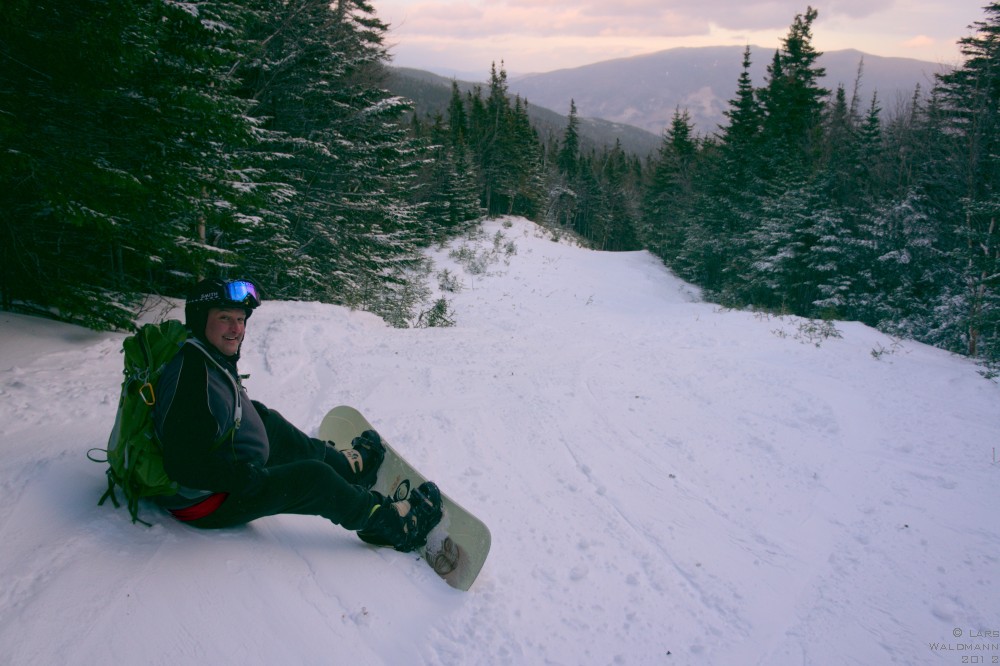
Here is my friend Mike near the top of the trail. The conditions were perfect, because there were about 4 in of new snow from the previous night. Because it was getting late in the afternoon when we descended, the sky had turned already colorful. What a great hike and trail!

We enjoyed this adventure a lot. Needless to say, we slept really well that night. Thank you, Mike for this great adventure.

Thanks for reading,

Lars

Excuses, excuses…

I has happened once again, camera manufacturers have announced new models at a Japanese trade show about two weeks ago (beginning of February 2012). This time it seems like the bar has been pushed very high by Nikon with the announcement of a 36 megapixel DSLR camera for about $3000. While I applaud Nikon for producing such a superb product, people are already discussing positive and negative implications. There are some that can’t wait to get their hands on this camera, whereas others are more skeptical and concerned that it may be difficult to create a computer infrastructure that can support 60-70 MB raw files.

It is great to see how far camera technology has come in the last 10-15 years, we can now take decent photos at high ISO, take bursts of images without any delays, and have enough resolution for billboard-size photos from even inexpensive lower resolution models.

The danger of new equipment is (and that is why I have named the post as such) that the lack of using the latest equipment may serve as an excuse for us why we can’t do today photographically what we should be doing.


It is so easy to get lost in the promises of manufacturers that the newly announced camera will guarantee the breakthrough we have been waiting for. And so we pre-order the new camera, hoping that it will be available for our summer trip, because then we can finally do “real” photography.

The issue I have with this approach is that by arguing that we can only do “real” work with our new equipment, we should follow what we say and discard our old work to this point, because we just claimed that it was not good, because of outdated equipment. I always like to check in photo magazines how many photos were taken with “outdated” equipment. My impression is that it is probably around 90%. It is more the exception that somebody uses the latest equipment.


If we spend all our dispensable income on new equipment, we won’t have enough money left to actually travel, or worse, we may be afraid to take the expensive camera on a trip. This would be a pity.

A long time ago, I learned that nobody can look at a photograph and determine what equipment was used to make it. I once ran a test with some friends. I had one print made from a 35 mm film scan, the other was from a digital camera file. Everybody guessed wrong, because the film scan image had higher contrast, whereas the digital camera print had less contrast. People assumed that the higher contrast photo must have come from a digital camera, because they had become conditioned that the digital camera file must look better.


Since it is difficult to discern what equipment was used, how should the photographer select equipment, and what is its role? Well, as photographers we know the limitations of our equipment. For my film cameras, I know which shutter speed I can comfortably hold by hand, and I know what film I have available. For the digital cameras, I know what the ISO limitations are for each camera, what I feel comfortable using. This ranges anywhere from ISO 320 to 6400 (max) for my current cameras.

Camera manufacturers have trained us to demand higher resolution, which is great to have, although for web use only, most modern cameras are overkill. The pitfall of higher resolution cameras is that we will need to improve our whole computer infrastructure to deal with the larger files. We should consider all these requirements before we make a decision into buying new equipment. I like to make a list with the features I would gain from a piece of equipment and then decide if it is worth the price, including secondary requirements such as updated computer hardware, additional hard drives for storage etc.


Maybe a better choice would be instead to purchase a new lens in a range that gives us a new perspective. Or some studio lighting equipment. Or a new printer. Or a plane ticket to the place we always wanted to go. Maybe that would be a better use of our money than another new DSLR or mirrorless body that gets old fast.

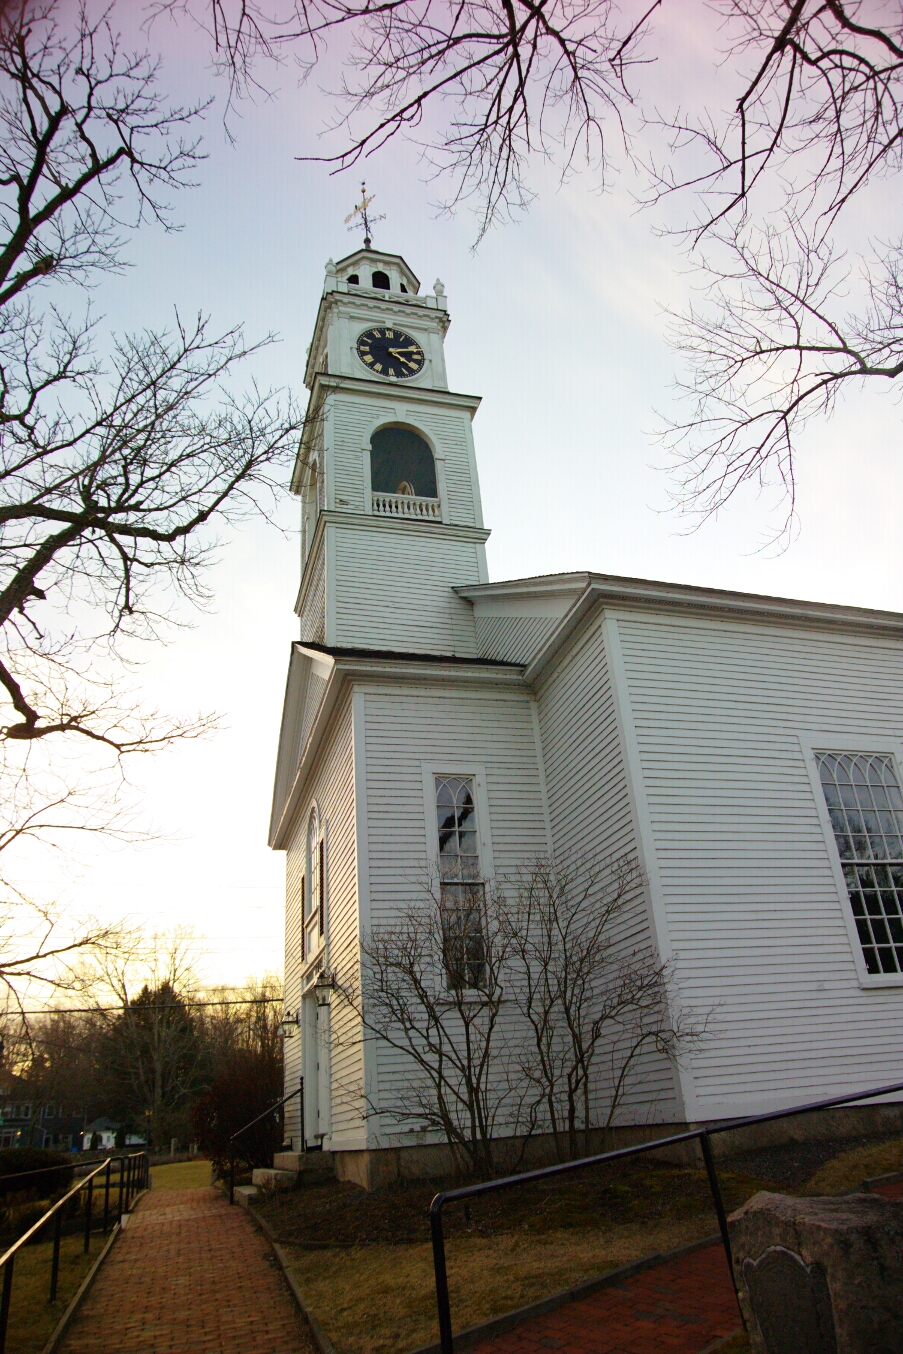
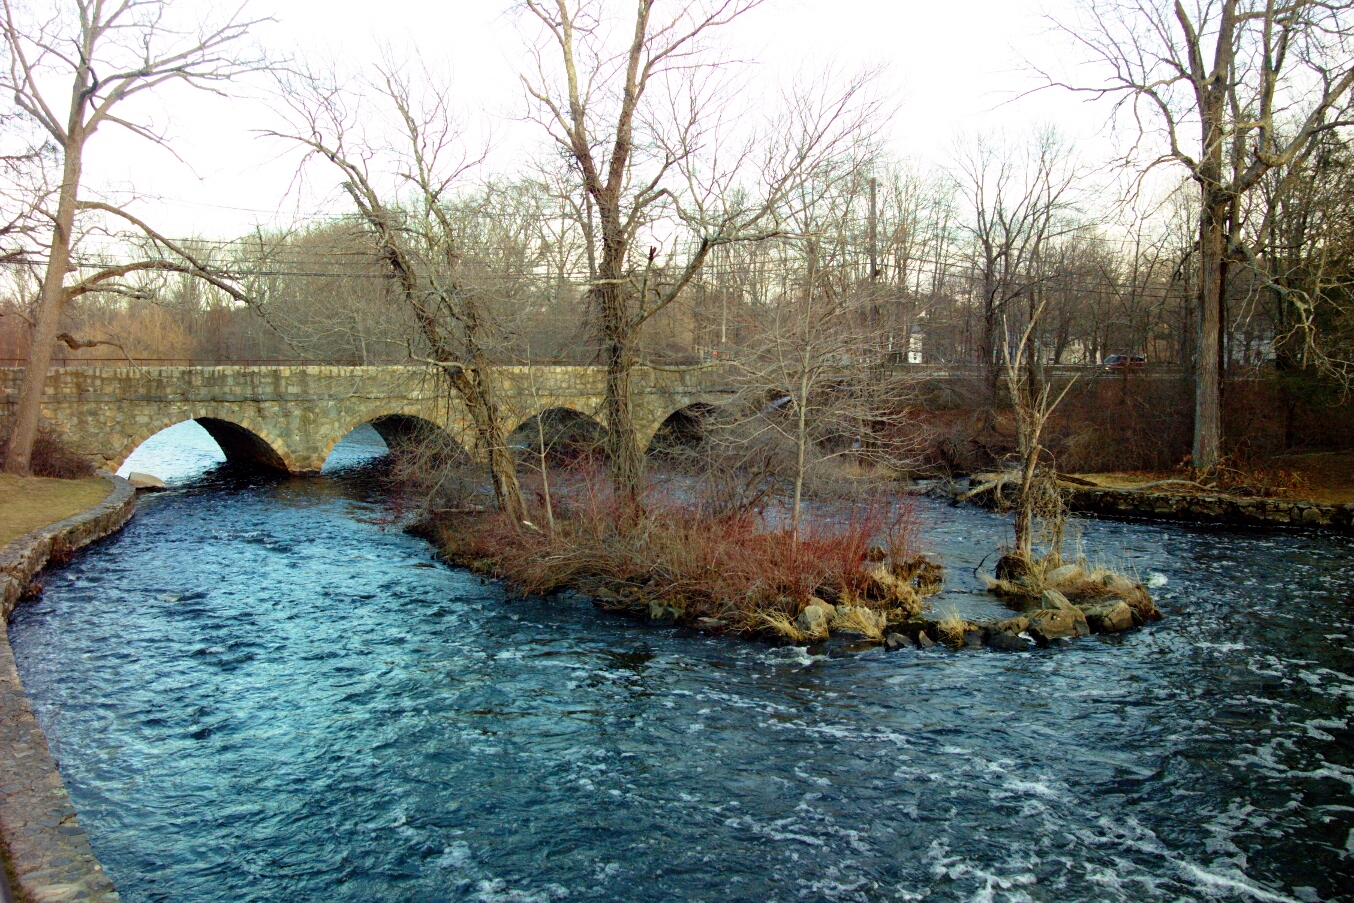
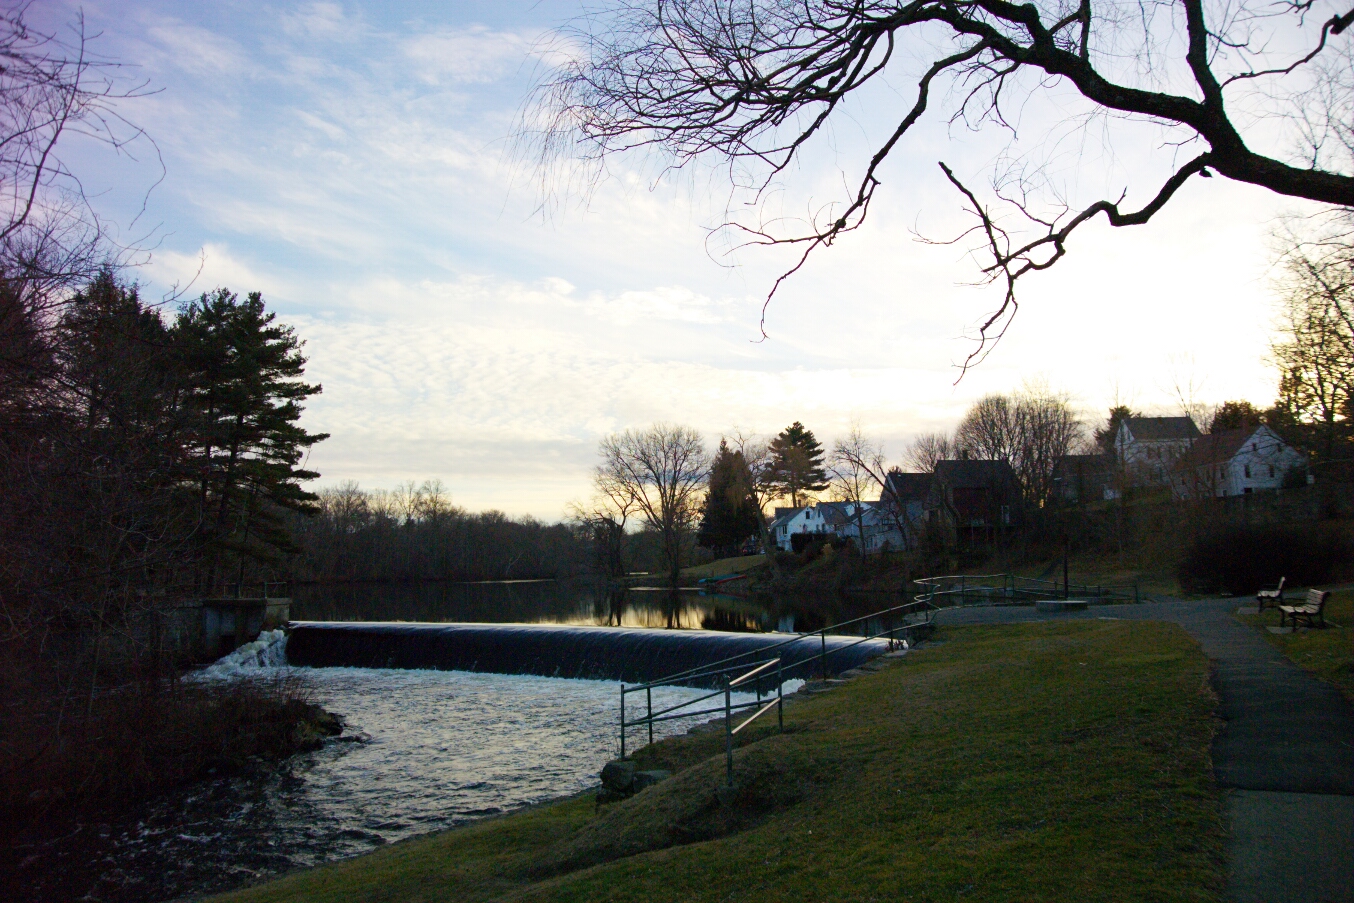
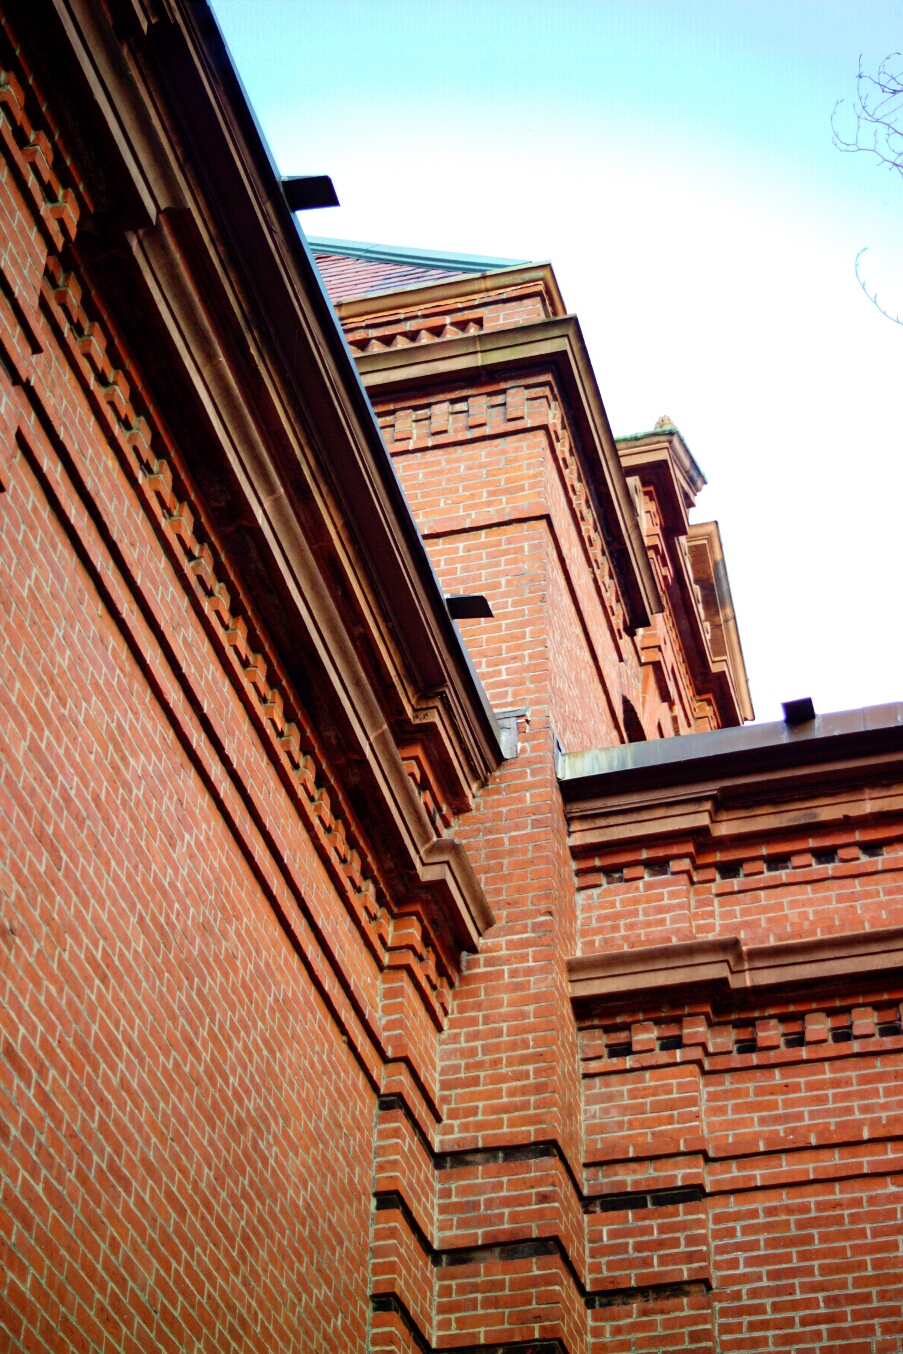
The photos I used here in this post are from South Natick, MA. I was on my way to a photography exhibition. I stopped when I saw the interesting church and library building. After I stopped I saw the Charles River dam below. While I had never been to this place before, I really enjoyed the sunset and clouds over the river, as well as the history at this place. It made me become more interested in the Charles River, a very winding river that merges into the Atlantic Ocean in Boston.

I was using an old Kodak DSLR from about 2003/2004 for the photos. Could you tell from looking at them? My guess is probably not. I knew the limitations of the equipment (no ISO higher than 320, very slow, etc.), but it didn’t bother me, because I used what I had available. Since I was not afraid of this camera getting stolen, it was riding with me in the trunk all day long until I needed it.

What my goal with this post is to encourage you to use what you have available and to remember that you make great photographs today. No need to wait for new equipment that will fall short. Photography is about life, about our emotions, about what we want to convey, about our feelings for a subject matter. The rest is distractions.

Recording artists did not wait for better recording equipment to become available, they performed their songs when the time was right. Today we can still enjoy recordings from several decades ago. The same is true for us, we don’t know what will be possible in a couple of decades from now. Maybe people will still enjoy printed photographs, maybe not. In the end it doesn’t matter for us today, because we need to create our artwork for today, not for the future.

What matters is that we can produce our artwork anywhere we go, and expensive new equipment may be limiting, because we may not take it in the mud, or in places where some water may sprinkle on it, which would be too unfortunate.

Thanks for reading,

Lars